The ingredients list is as follows and does not use or need a gelatin mix..
The below will make 9 lbs of shrimp mix... which lasts me about a month
1 lb spinach All ingredients should be fresh, without additives and washed many times.
1 lb mustard greens
1 whole garlic
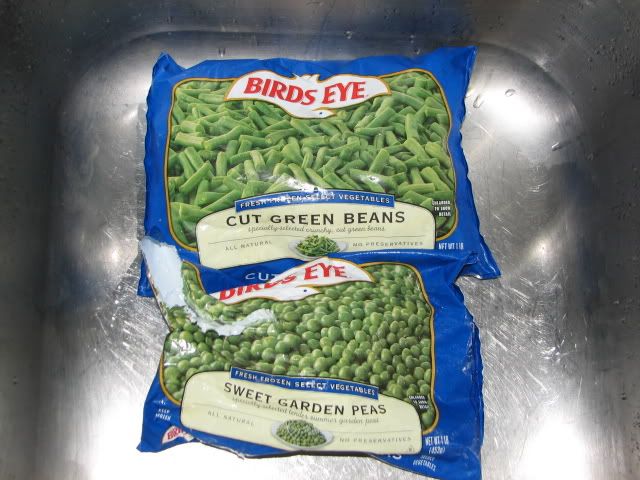
1 lb bird eyes natural peas (no extra ingredients like butter added)
1 lb bird eyes natural beans (no extra ingredients like butter added)
42 oz frozen shrimp (do not use less than 32 oz)
4 to 6 heaping tablespoon of Spirulinia powder
Small can of Paprika I was out and did not use Dang it
The appliances and tools needed..
Blender multi controls capability
food processor... but not essential
Freezer Needs to be large enough to hold three cake pans
Miscellaneous stuff..
small boards to be able to stack the pans or ice trays to keep from smearing all over
large tupperware bowel or similar
hand mixer if possible or low level electric mixer
a small pitcher to pour ingredients
long wooden handled spoon... needs to be foot or longer
Spatula to smooth the mixture
ots of ice cube trays... Very nice
2 to 3 cookie trays Can use cake pan
Wax Paper Very essential to avoid pain in butt
__________________________________________________ _______________________________
Walmart is where I got my shrimp and it was on special..... now days instead of getting a whole pound... you only get 14 ounces for the ***used to be special price for a pound*** So instead of 2 lbs (32 oz) I got three bags of 14 oz.
I put into warm water and let it soak,,, then pull the tails off.. I use a colander to rinse.. and then put into another bowl to rinse again. If this is not done, then the residue which can include the beginning of spoiling will contaminate mix.
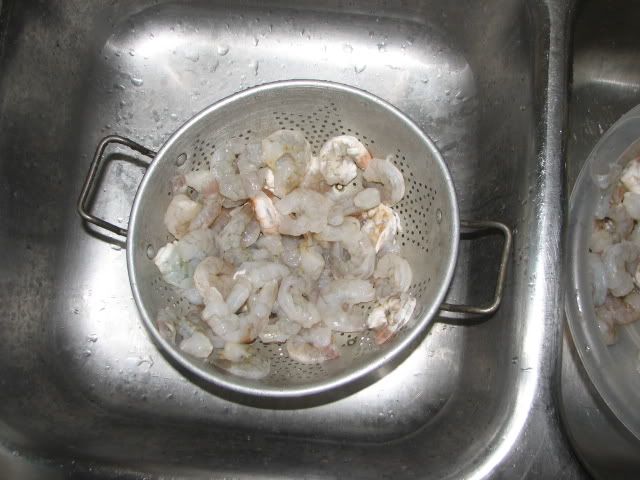
and the bowl to rinse the residue off
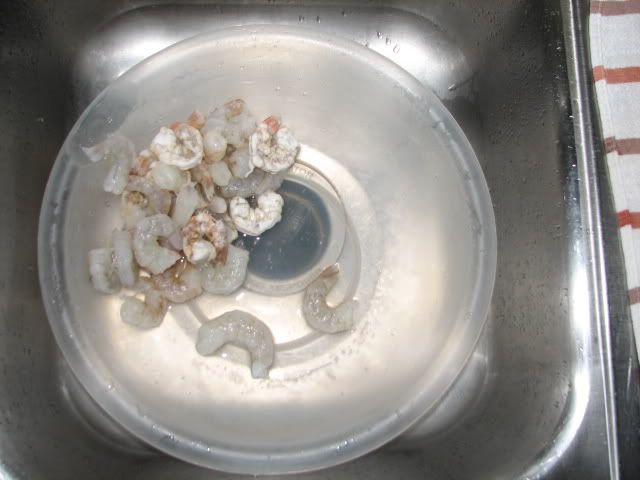
When the shrimp is rinsed --- set aside...
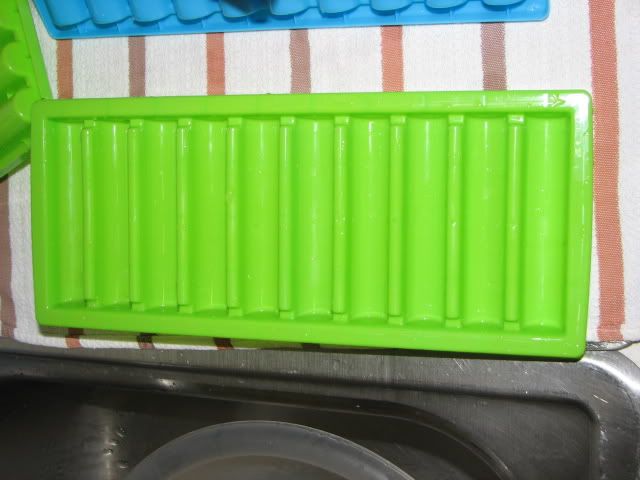
Then rinse the ice trays out with warm or tepid water... Not hot water as it will cause the mix to stick.. Also do not use soap to clean out as it will stick to the plastic and contaminate the mix. I use the elongated ice trays that you can pick up at a dollar general store... The elongated ice trays allow for more fish to eat when it is dropped into the tank... the small cubes made for just a few fish to hog the whole mix.
The following ingredients are the 1 pound bags of peas and 1 pound bag of beans... They come from Birds eye because of their all natural - no additives added... I use only a 1/2 pound peas and the whole pound of beans.
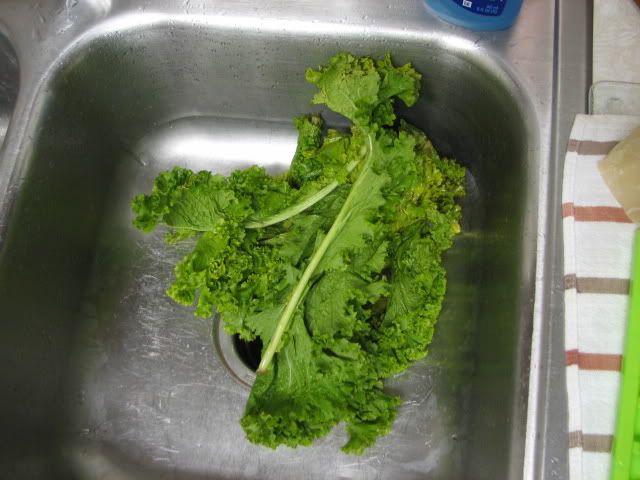
The Mustard Greens are shown in the next picture... I remove the stalk and only use the leaf part. I try to get this fresh from stores I know that do not use additives... I also rinse and rinse this...
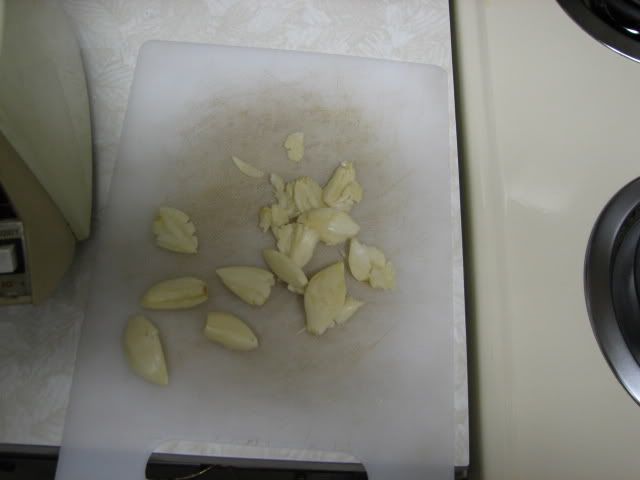
This is the garlic,,,,, I mash the garlic cloves down to skin the outer layer.. This is done as to keep the potential outside contaminates out. I do use a whole garlic instead of just a few cloves..
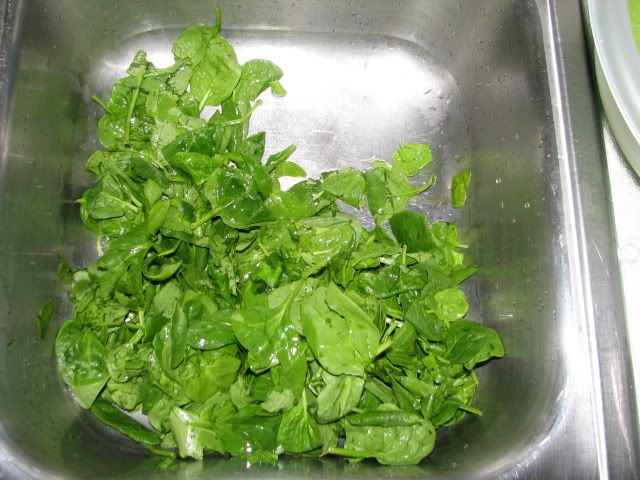
I do rinse the Spinach off and use the stalk on the spinach..... I want a little extra fiber to hold this mix together in addition to the peas and beans fiber.
__________________________________________________ _______________________________
Next up is the mixing and why I do it this way....
I want the basic fiber to be started first.... so I put the peas all at once (1/2 lb) into the mixer and puree
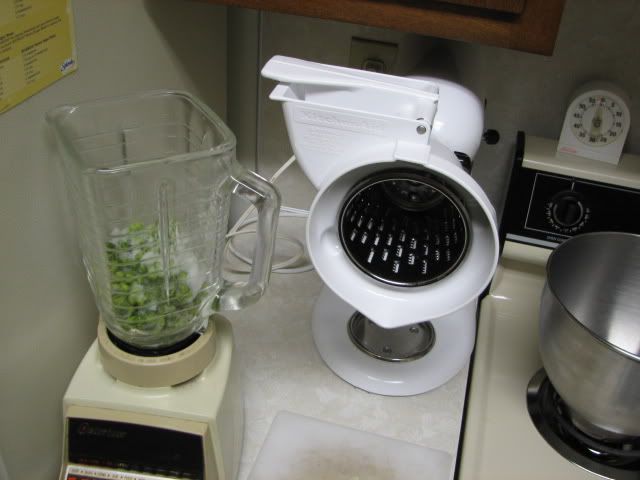
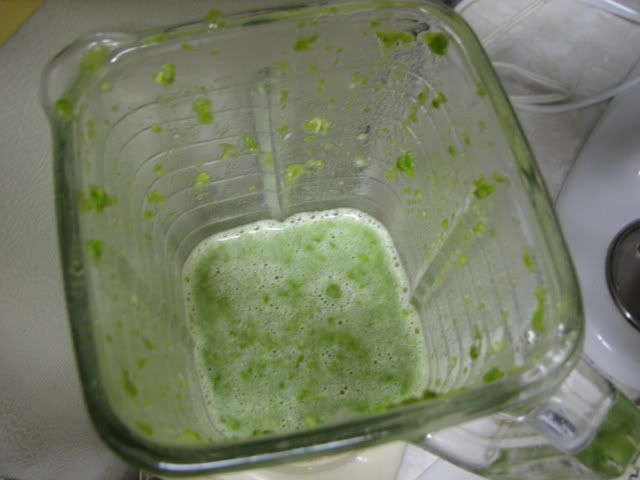
If you look closely, you will see the garlic added into the peas... I want the garlic to be pretty well chewed up. Garlic is a taste enhancer or seem to be for fish and helps them to start eating better... There are also a lot of good qualities in pumping up the immune system..
And water... Water is very essential or you will burn the blender out...
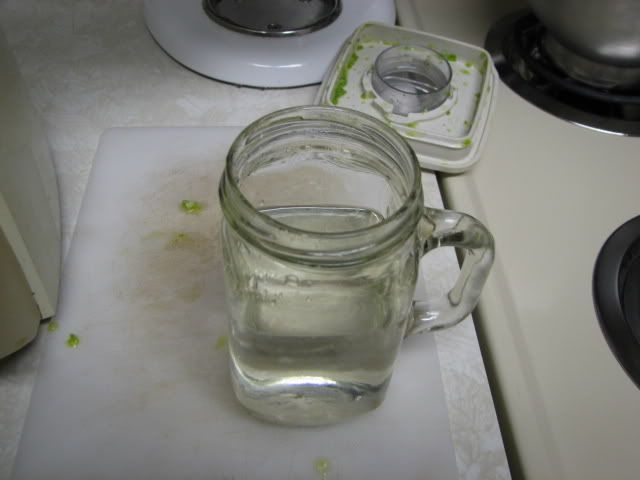
The beans are added at this time with another glass of water. The previous picture showed the glass and it holds probably about 8 or more ounces.... I will use about to 5 glasses of water.. I add as needed.
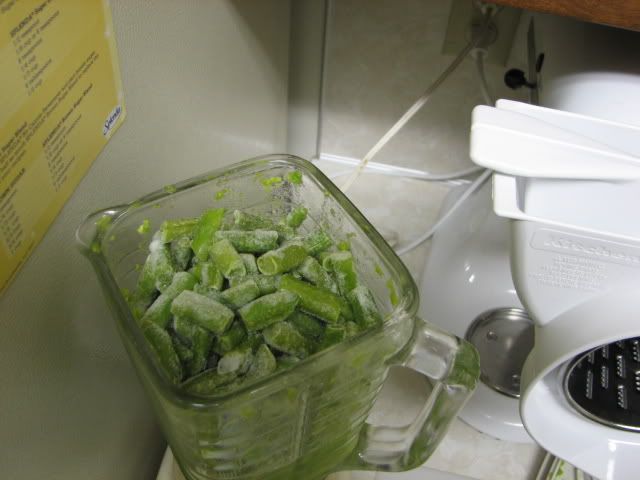
You will now see the stick being used... This is necessary to get the mixture to a fine froth and also to get the water down so that the mix can be blended totally..
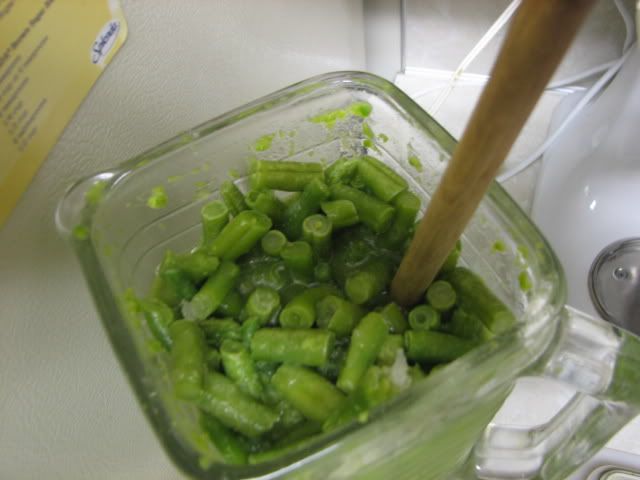
In case your wondering... The blender has metal shredder in the mixing part.
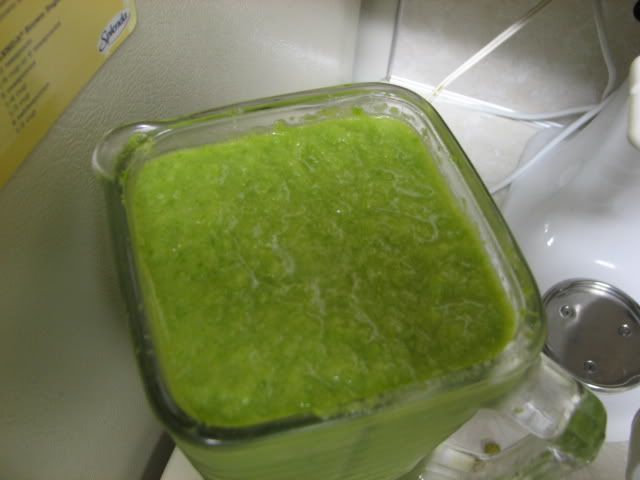
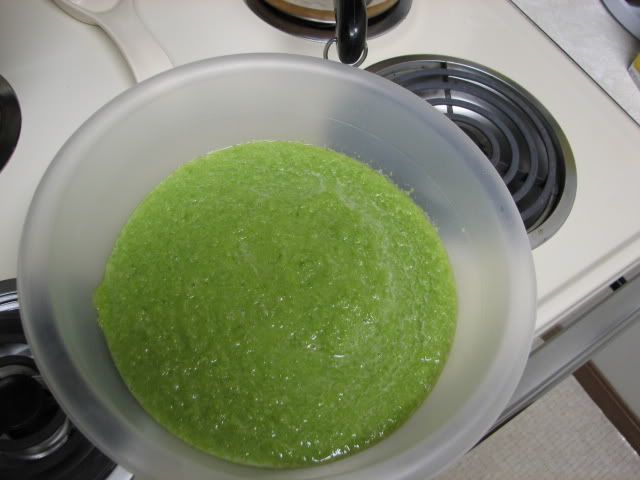
The next 2 pictures show the frothy ingredients and it is poured into the large tupperware bowl.
__________________________________________________ ________________________________
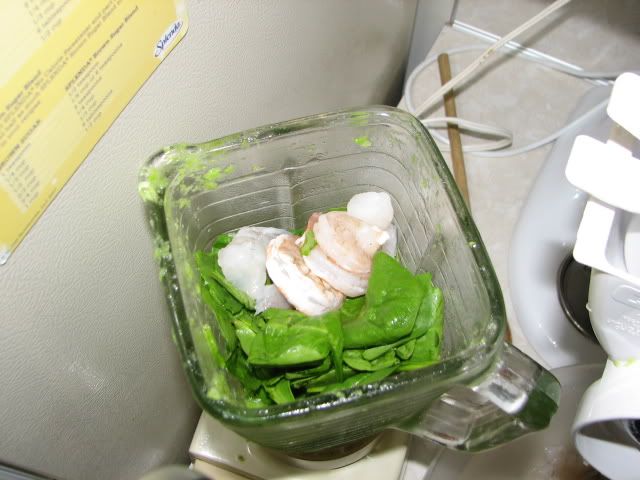
The spinach and mustard greens are added together in small parts...

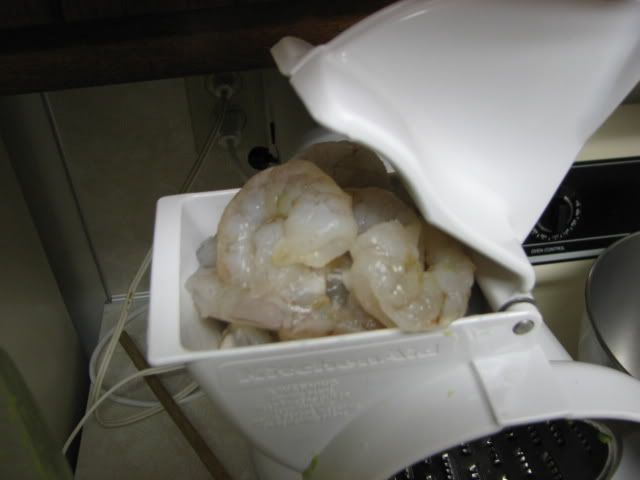
The whole shrimp is added... just about 5 to 8 at a time..
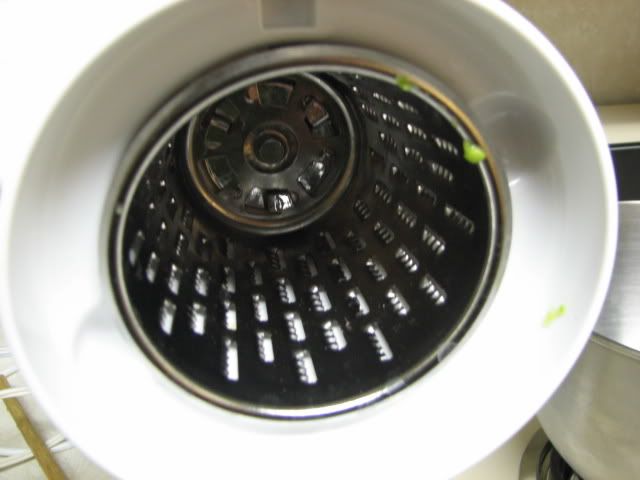
I used a Kitchen Aid shredder and it did not work... but will try something different next time.
I wanted the shrimp to be a mixture of puree and chunky. Not quite chunky enough yet... but I did get some good chunkier paste out the shredder. I think if I froze the shrimp a bit more.. it would have shredded better.
As you can see in the blender.. the mixture of spinach and mustard greens produce a darker color while the beans and peas were a light color..
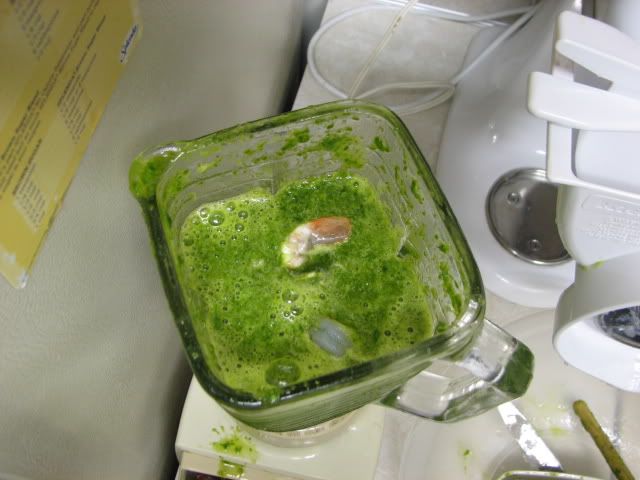
By this time, I have used about 2 and 1/2 glasses of the water. I am sorry for the repetitious glass of water picture... but if you do not use this.. you will burn the blender motor out...

To do all the mustard greens and spinach, will take about 4 blender containers and emptied into the tupperware bowl
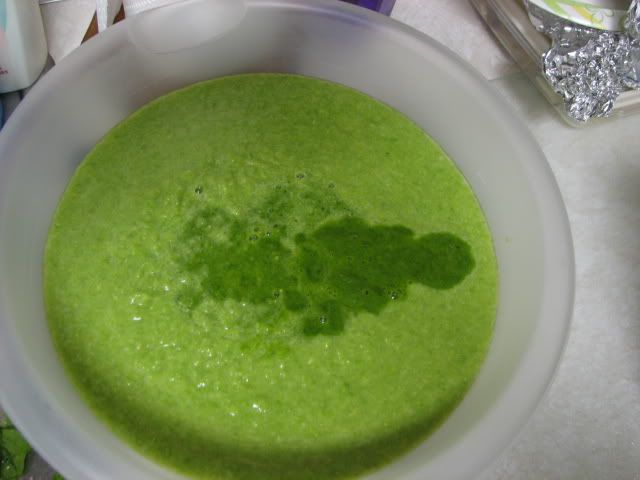
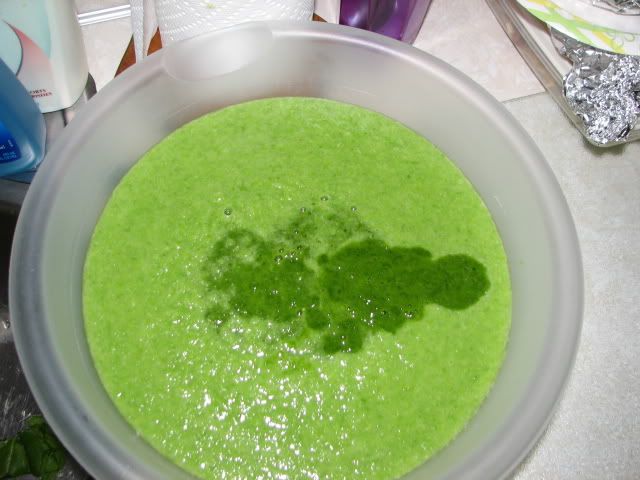
As you notice the bowl is getting fuller and fuller...
At this point, I do add some of the choppier shrimp paste and also 4 heaping tablespoons of Spirulinia powder.
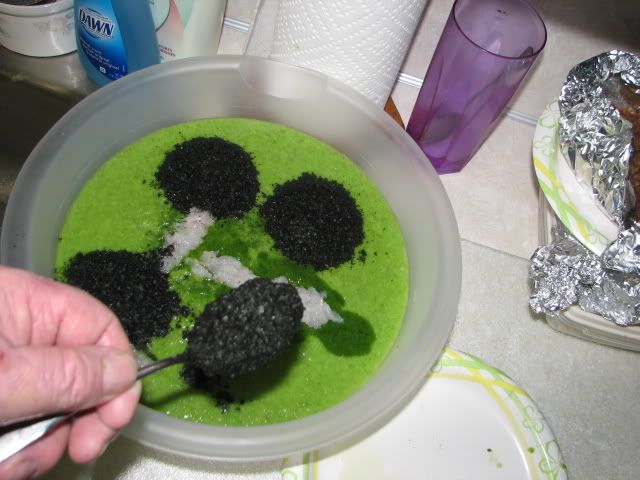
The following picture shows the shrimp chopped paste as well as another blender container of the spinach and mustard greens.
Each time I blended the spinach and mustard greens, I was adding shrimp into the mix as well as water to be able to get everything mixed in..
The bowl is dang near over flowing now..
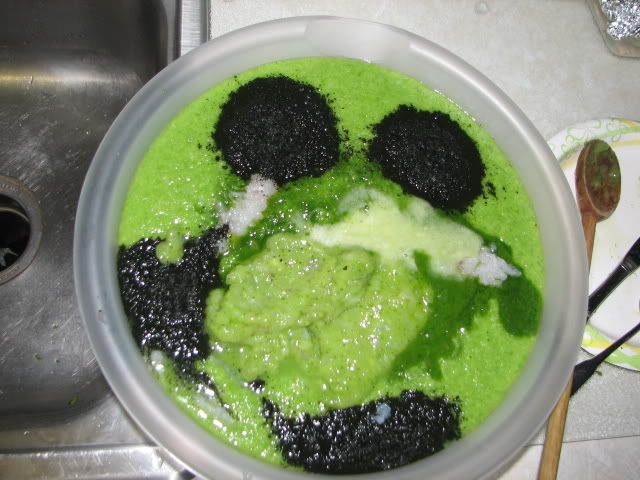
To get a start in stirring, I used the wooden handle spoon to do a rough stir in.. Its not necessary... but to me it keeps the ingredients from spilling over... again.. notice how full this is.
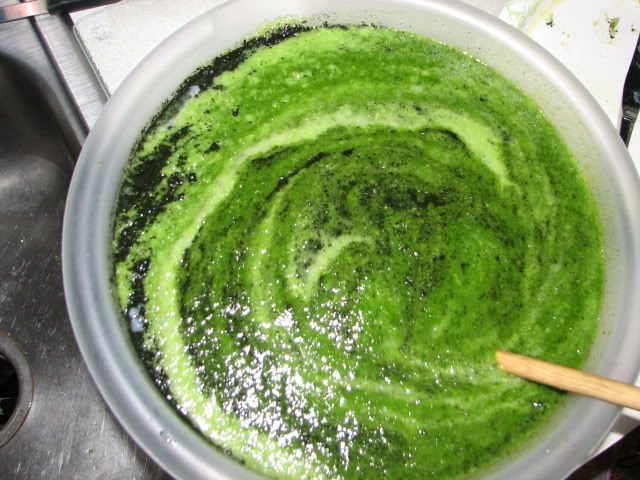
Then to really mix it in... I use a manual mixer or hand mixer... Ancient.. Huh?? I am too..
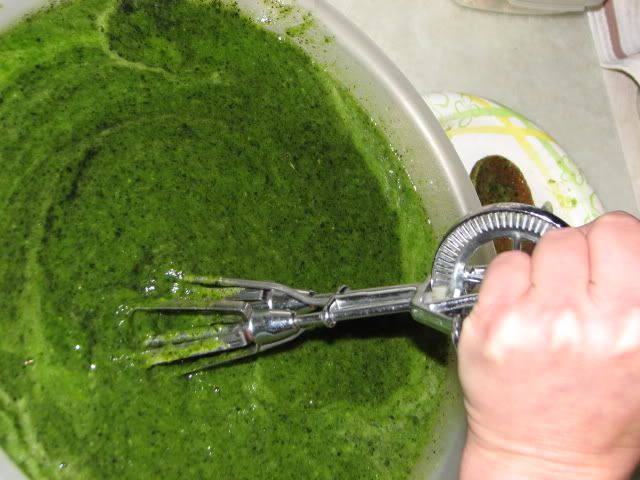
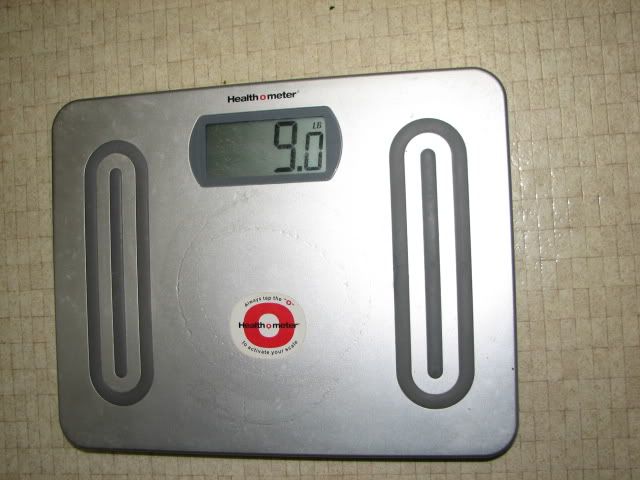
This mixture is at 9 pounds as the scale goes.....
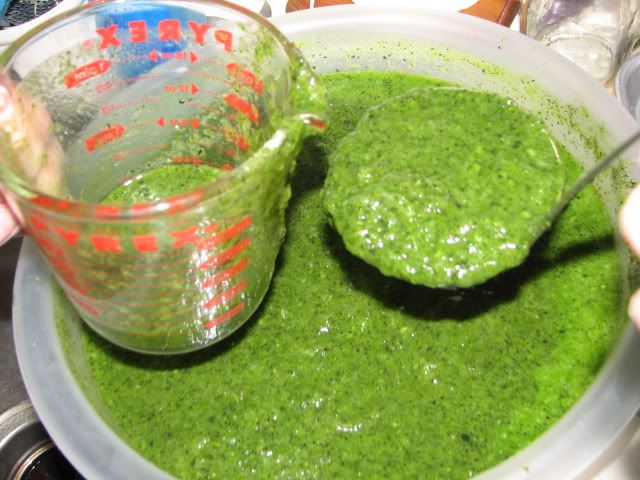
I use a big ladle to spoon the mixture into a pouring glass... in this case it was a two cup glass measuring pour.
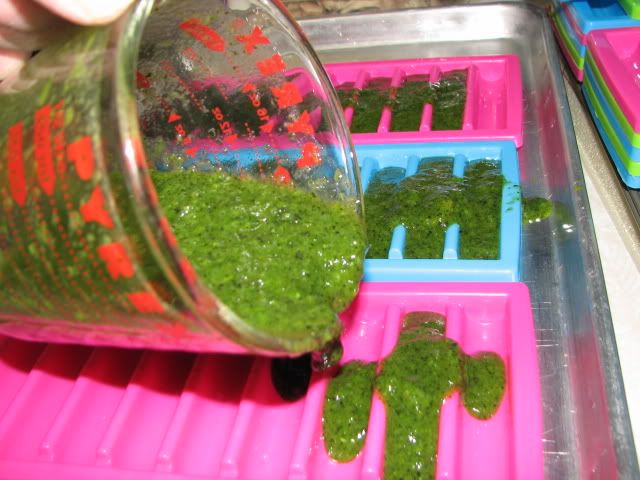
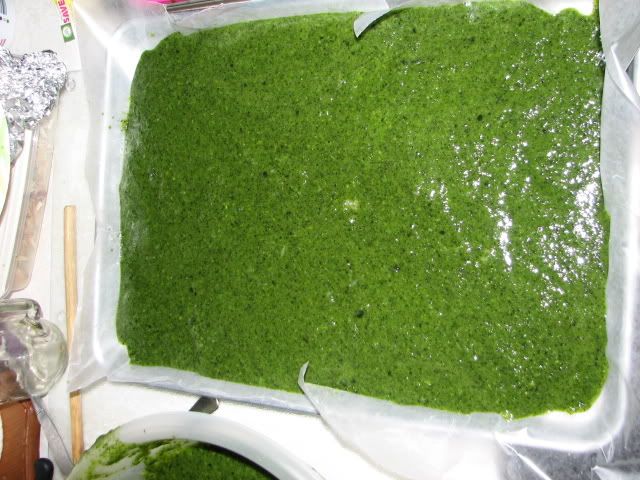
The next two pictures show the mixture being poured into the elongated ice trays. I poured into six of these elongated ice trays and one full cookie sheet. I use a spatula to spread the mixture around and to clean the excess off.. The spatula is essential.
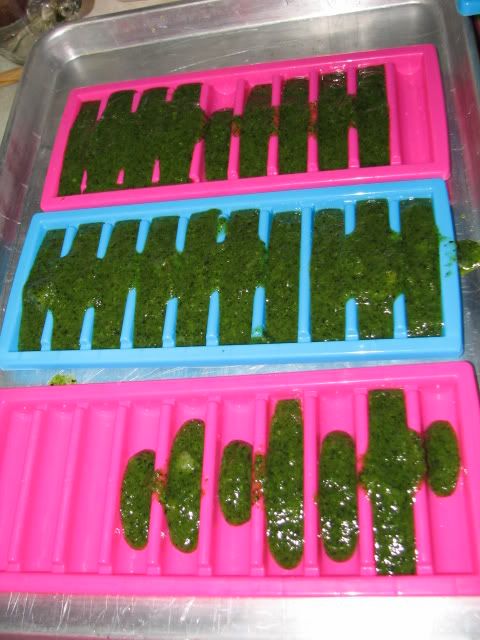
And of the cookie sheet... Be sure you line the cookie sheet with wax paper as it is a bear to get off, if you don't.
In the next picture... I have stacked the ice trays on top of the cookie sheet.... in between each layer is a wax paper as to keep things from sticking to each other. On top of the cookie sheet is two sticks of wood to keep the cookie sheet tray that is holding the ice cubes from sticking..
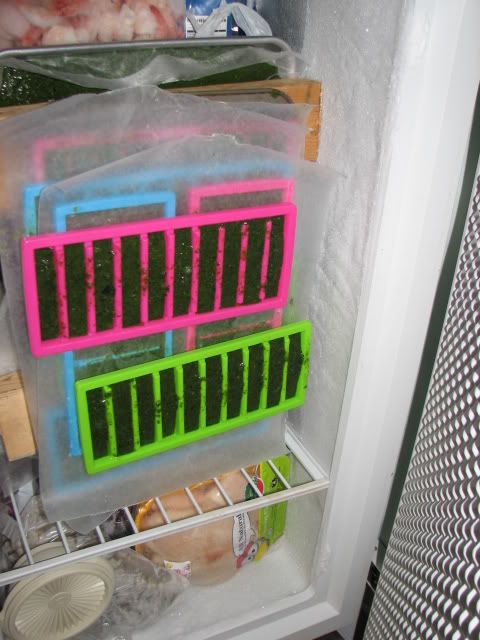
You can see them stacked and set into the freezer... It will take all night for this to harden..
I start separating the wax paper from the individual trays..
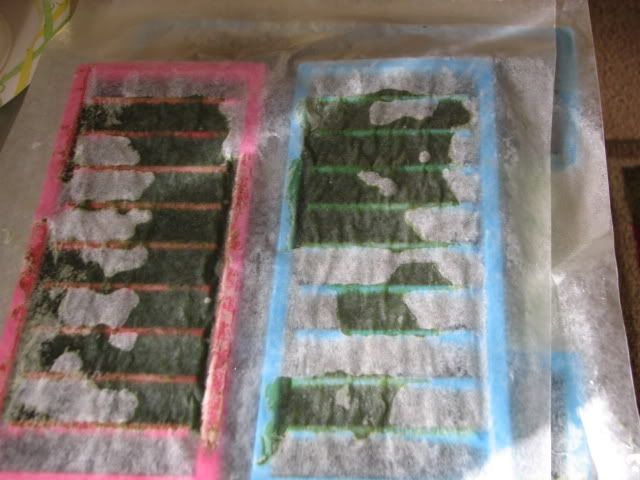
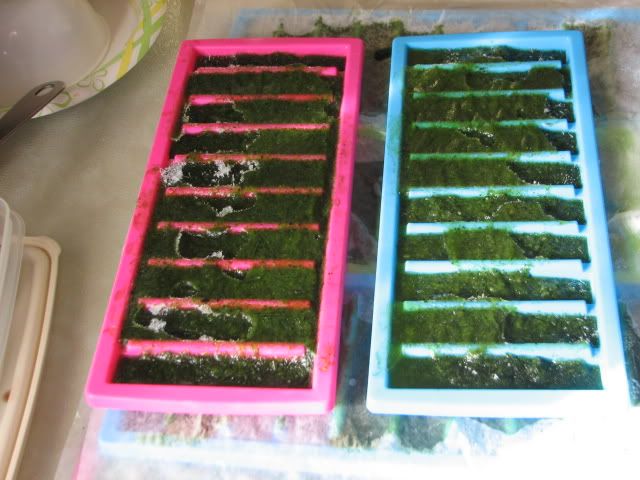
Wiggling the trays a bit, pops the frozen mixture out now...
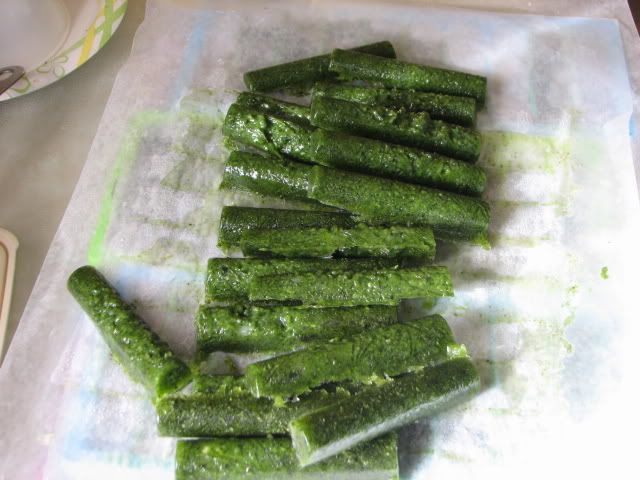
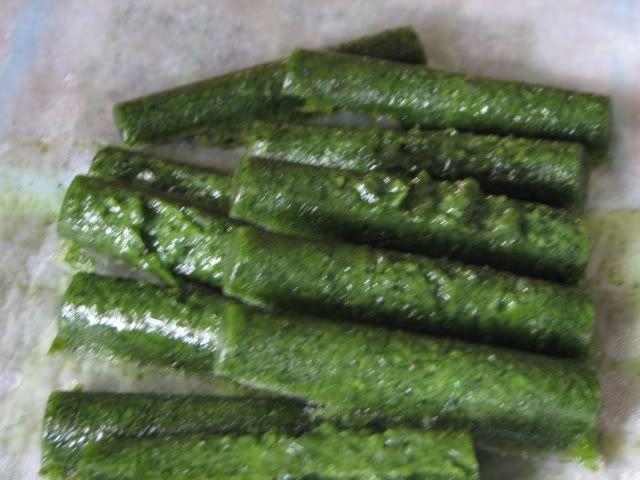
The bag shown is a gallon freezer bag... Using freezer bags are better than regular bag... ziplocks are essentials..
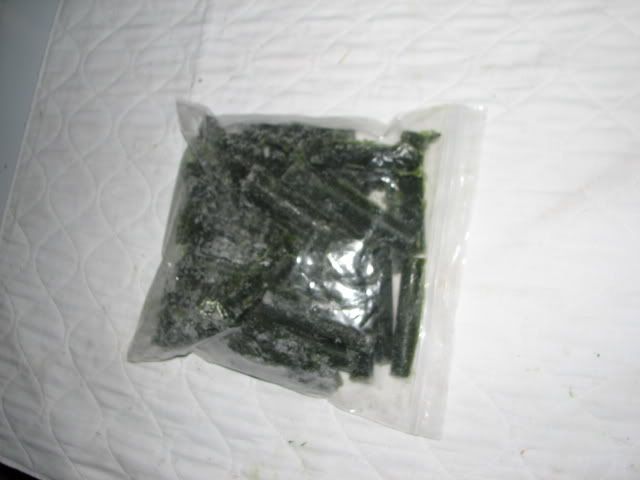
There will be three to four bags depending on how full you make the bag.
I use this mix pretty exclusively for the trophs, petro's, malawi's and growout fry.. Also it is used for the tang tank too..
The petro troph tank gets two sticks two to three times a day... the malawi tank gets two sticks twice a day. The tang get a half a stick twice a day and the growout gets 1 stick twice a day...
This mix will not disintegrate into the tank, if you put this into a glass of water, it will not be broken up in half hour later.
The first mix I did only had a lb of shrimp in it... The fish did not thrive on this... the next mix had about the same amount... but it was only when I bumped the shrimp up to 2 or 2 12/ lbs that the fish started to really take off.
The Mustard greens and spinach really add to the more complex ingredients of nutrition... Lots of good stuff in those two greens..... You can easily grow mustard greens in pots inside the house....
It smells pretty good.....
For those who do this alone and are married.... If you want to stay married... Clean up afterward. In my case since my wife helped... we cleaned as we went..... then it was not so bad.
But cleaning is part of this whole process and expect the first two or three times to take longer and it will get better as time goes on.. but it is well worth the effort.
My wife is a gem and helped me through this... with her helping it takes about an hour and half to do this... The first time took three hours... but each time I learn something new...
Hope this helps you folks.. Any questions, I will gladly answer...
Thanks.
AND
because they were out of mustard greens, I used turnip greens (do not use collard greens - way too touchy)
and while in the frozen veggie section, I came across a box of frozen mustard greens with no preservatives...
I hogged that box and brought it home..
did the same thing as in the pictures but thawed the box of frozen mustard greens out and put into the blender.....
Guess what??? Did mince down as much but left the mix more firmer...
The fish seem to be enjoying the mixture a bit more if that is possible..
However as far as the mess goes... I do not have a problem with the mess, it gets cloudy from the piranha like behavior - that goes away in about 3 to 5 minutes.
I will post some picture of the frozen 'logs' being eaten....
Bill