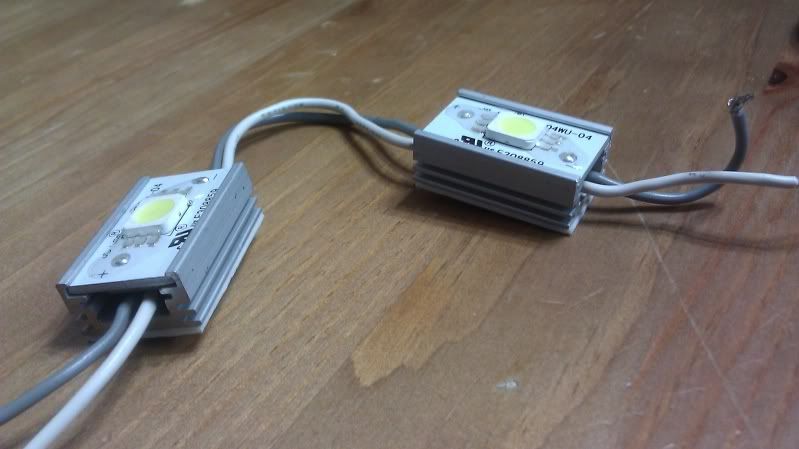
picked up these little 1w super whites at EPO today and will be retrofitting them into my single bright fixture.
These thing put out a good amount of viewable light and cast a mean shimmer! The shimmer only comparable to MH!
edited to add DIY LED lighting over a 72"x24" tank for only $10003/27/2012
I didn't take pics of some of the initial process but it's pretty self explanatory.
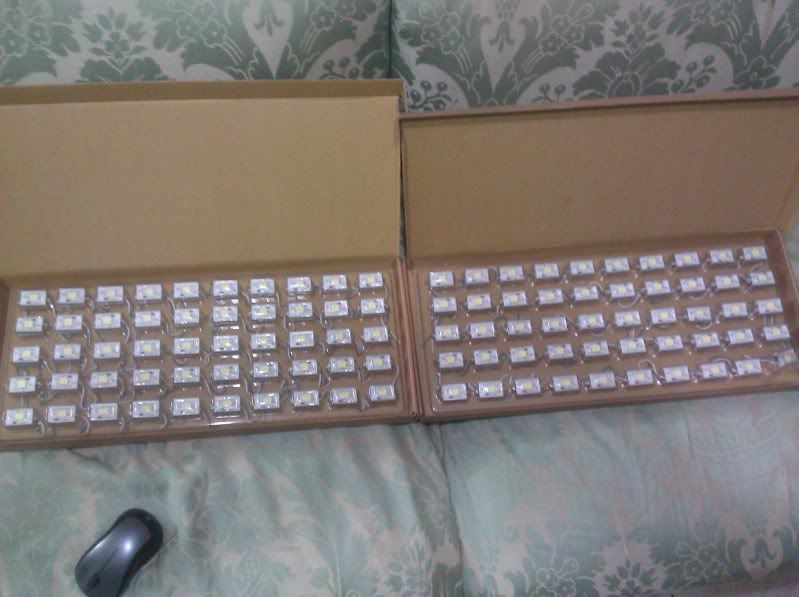
This is how they came in the mail I only used one of the boxes for this set up.
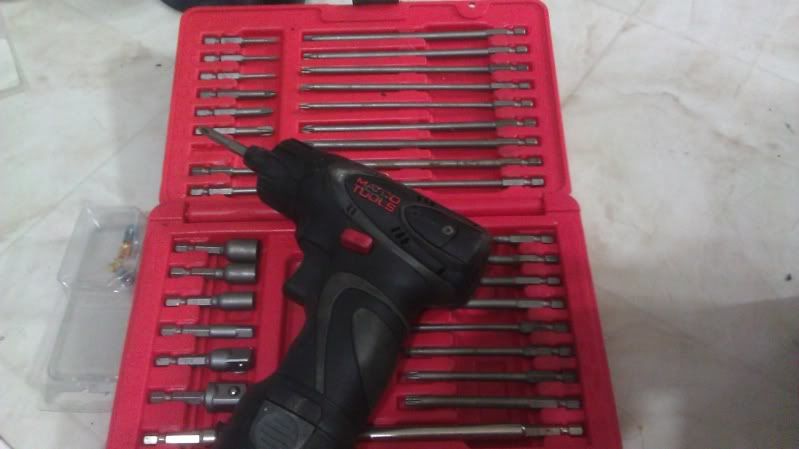
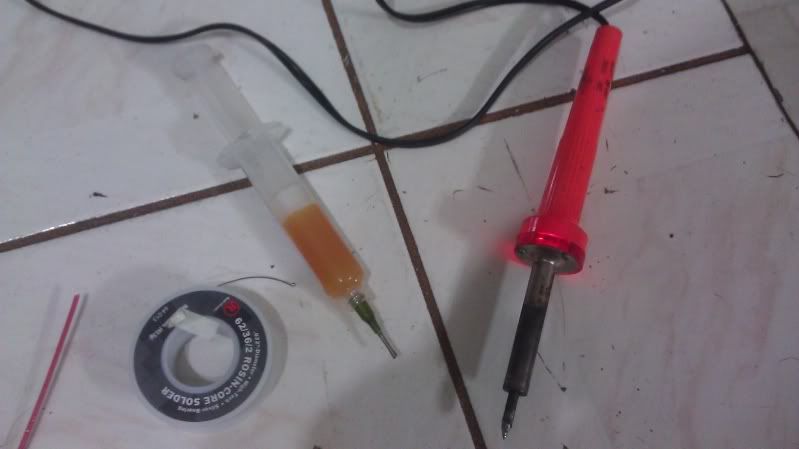
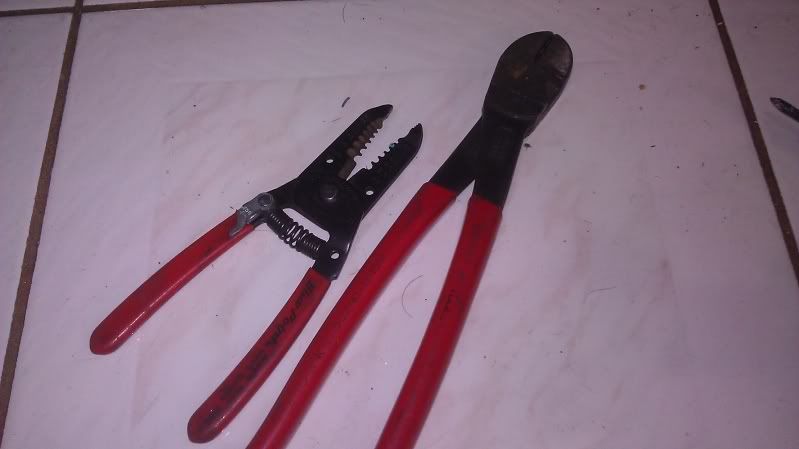
Tools used to tear apart the stock Oceanic housing, wire everything, etc.
screwdriver
soldering iron
flux paste
high tin solder
wire strippers
wire cutters
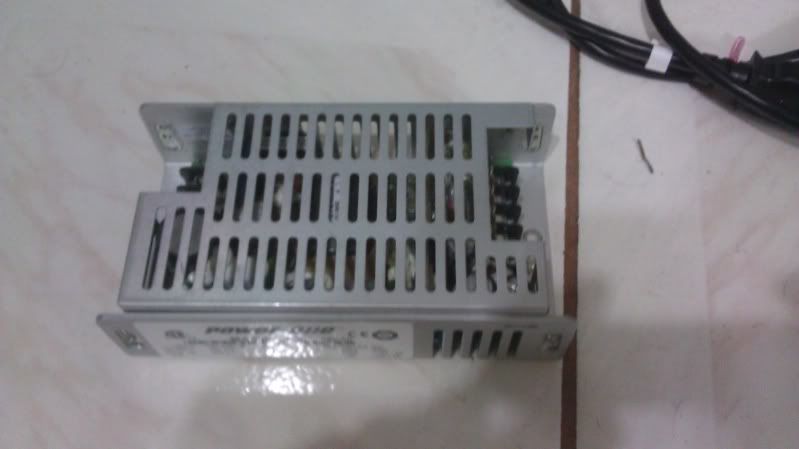
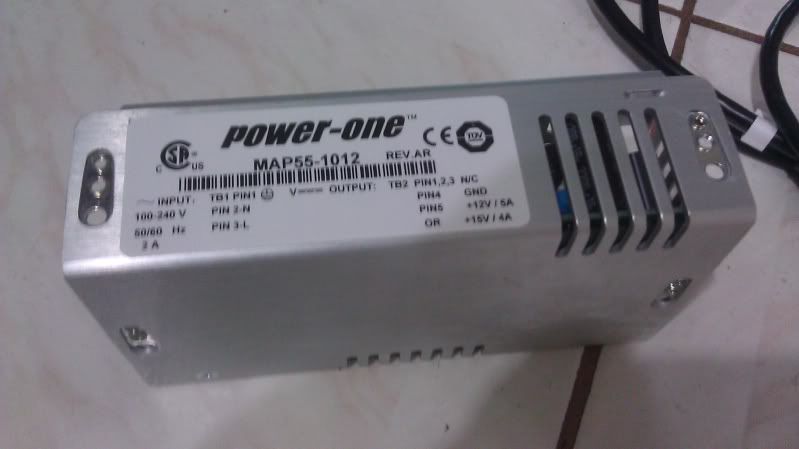
Power supply I used for the jobhttp://www.houstonfishbox.com/vforum...l-Power-Supply
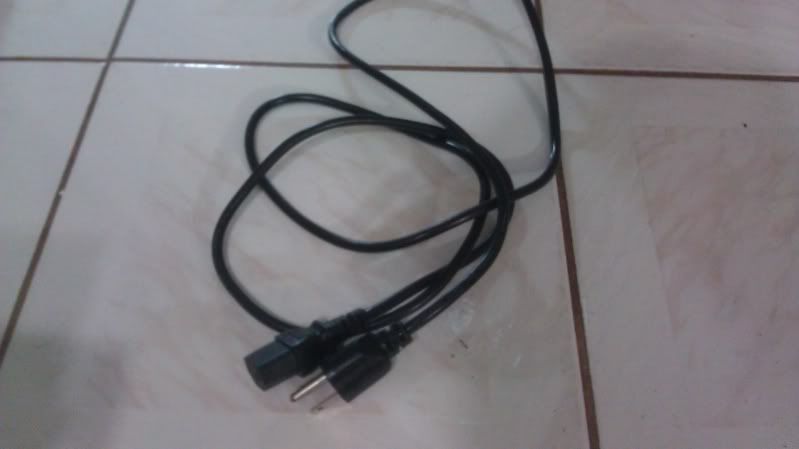
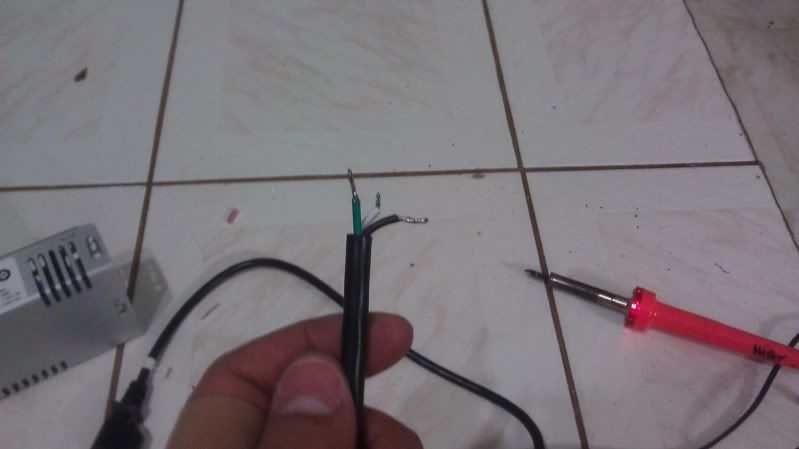
Wire used to power the power supply, computer power cord with the connector end cut and wires stripped back
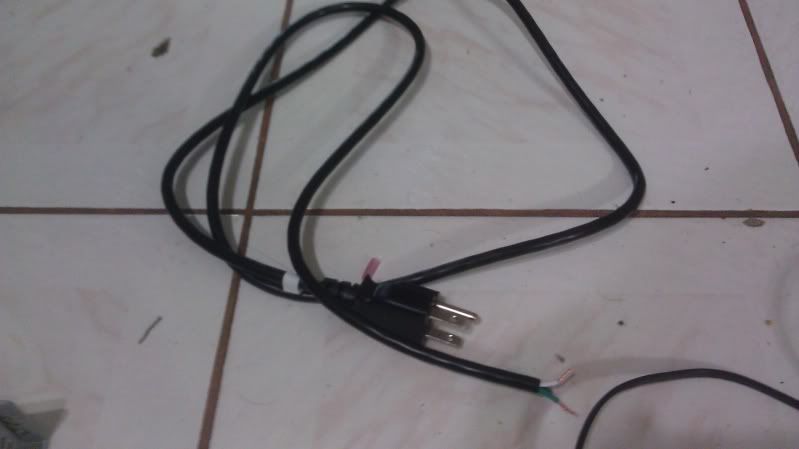
I tinned all open ended wires for a cleaner install, better contact and strength. twisted the ends, dabbed a bit of flux and applied solder
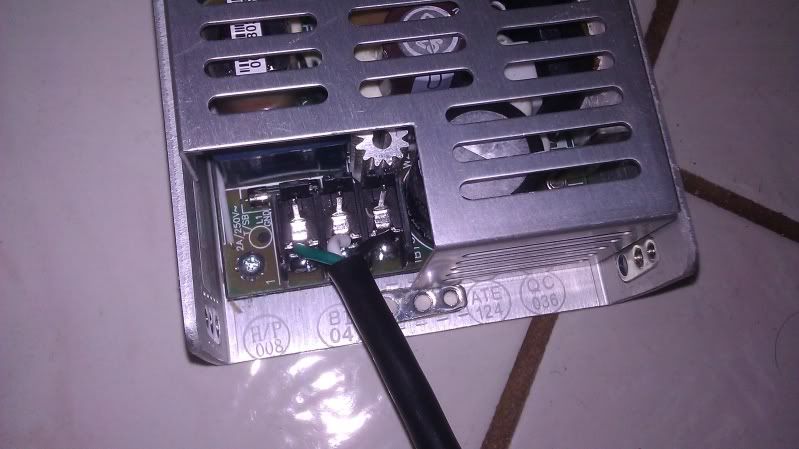
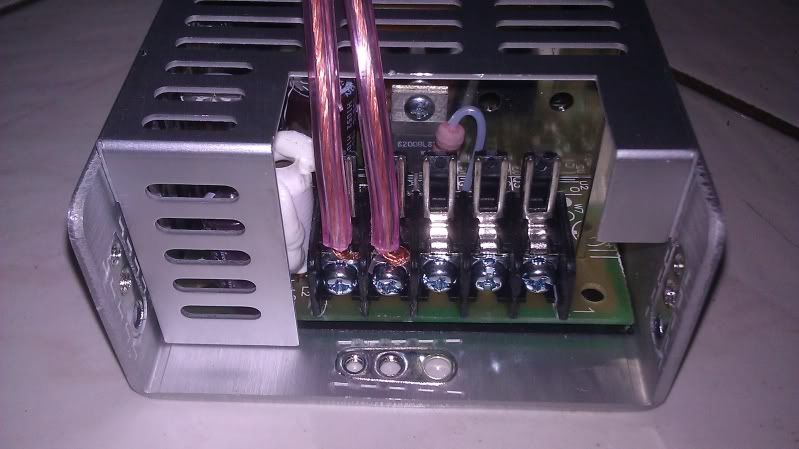
Both ends of the power supply with wiring installed
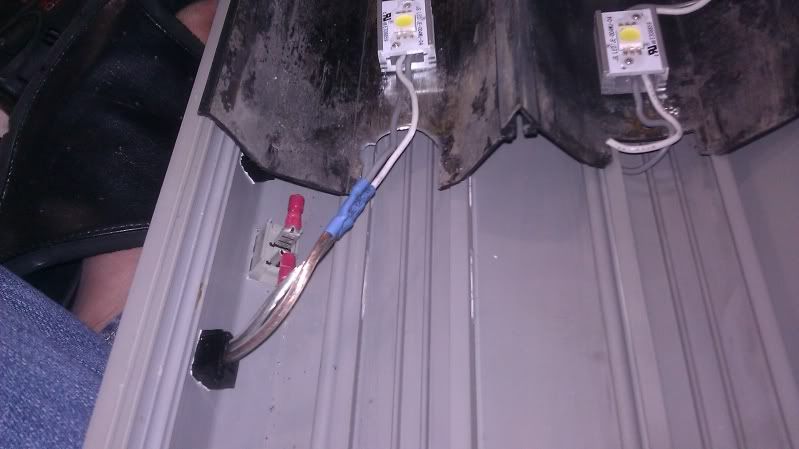
The Oceanic dual tube housing stripped of the endcaps and old wiring, kept the wire plugs and switches in place and ran Monster wires to the LEDS. wires are soldered and heatshrink tubing covered.
I positioned the lights so the center of the tank would have more lighting (Oceanic tank with glass center brace)
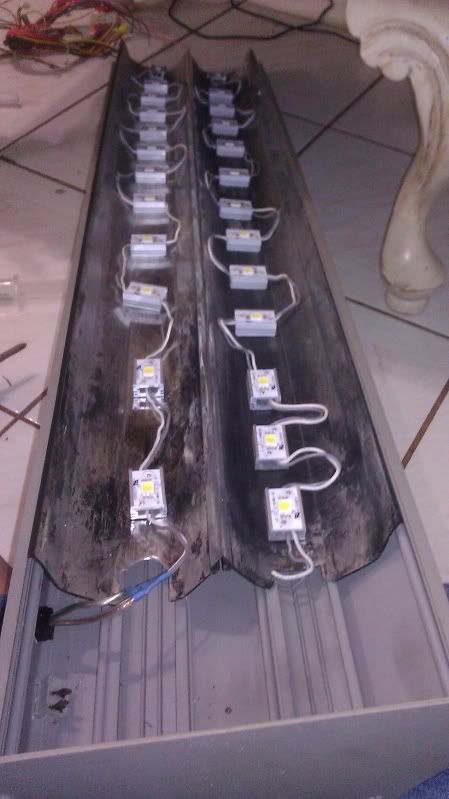
Slid the reflectors back into place and reinstalled the plastic end covers of the light fixture.
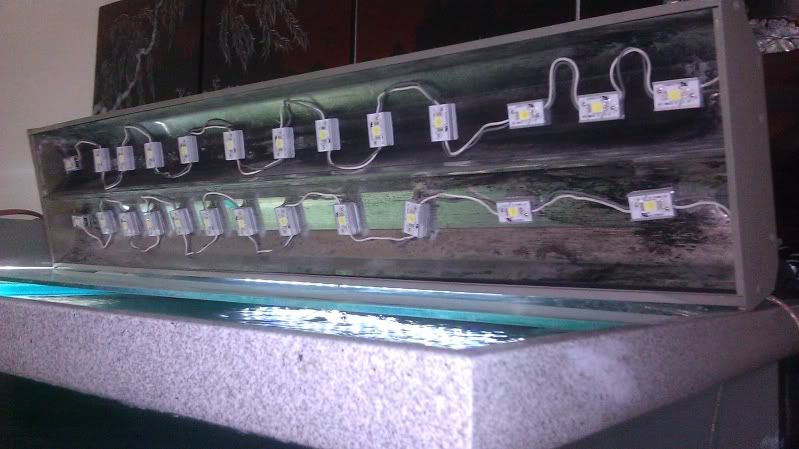
It was kinda hard taking a vid of the lights since the camera kept adjusting but I re-adjusted to best represent what the eye would see in person.
Beginning - 52x 1w LEDs + Marineland SingleBrights
Next - SingleBrights with 2x 1w LEDs only
After - All off
Last - 50x 1w LEDs only
after each switch I adjusted the camera to what it looks like in person. Did not fluff it none.
open youtube to watch in HD
Attempted to capture vid of the shimmer adjusted camera to show shimmer and fish since it's super bright and causes mad overexposure
These thing put out a good amount of viewable light and cast a mean shimmer! The shimmer only comparable to MH!

edited to add DIY LED lighting over a 72"x24" tank for only $10003/27/2012
I didn't take pics of some of the initial process but it's pretty self explanatory.
This is how they came in the mail I only used one of the boxes for this set up.

Tools used to tear apart the stock Oceanic housing, wire everything, etc.
screwdriver
soldering iron
flux paste
high tin solder
wire strippers
wire cutters


Power supply I used for the jobhttp://www.houstonfishbox.com/vforum...l-Power-Supply


Wire used to power the power supply, computer power cord with the connector end cut and wires stripped back


I tinned all open ended wires for a cleaner install, better contact and strength. twisted the ends, dabbed a bit of flux and applied solder

Both ends of the power supply with wiring installed


The Oceanic dual tube housing stripped of the endcaps and old wiring, kept the wire plugs and switches in place and ran Monster wires to the LEDS. wires are soldered and heatshrink tubing covered.

I positioned the lights so the center of the tank would have more lighting (Oceanic tank with glass center brace)

Slid the reflectors back into place and reinstalled the plastic end covers of the light fixture.

It was kinda hard taking a vid of the lights since the camera kept adjusting but I re-adjusted to best represent what the eye would see in person.
Beginning - 52x 1w LEDs + Marineland SingleBrights
Next - SingleBrights with 2x 1w LEDs only
After - All off
Last - 50x 1w LEDs only
after each switch I adjusted the camera to what it looks like in person. Did not fluff it none.
open youtube to watch in HD
Attempted to capture vid of the shimmer adjusted camera to show shimmer and fish since it's super bright and causes mad overexposure


Comment