Sunkenmetalís ADA Stream Tank Journal
First I want to say that I had fun cutting these holes today. It isnít bad at all it is all about your speeds and feedsÖ So whose tank gets holes next lol?
So I Got everything I needed to Holes in the bottom of my ADA 120. My wife decided she would take the day off and help out so I didnít hurt my back.
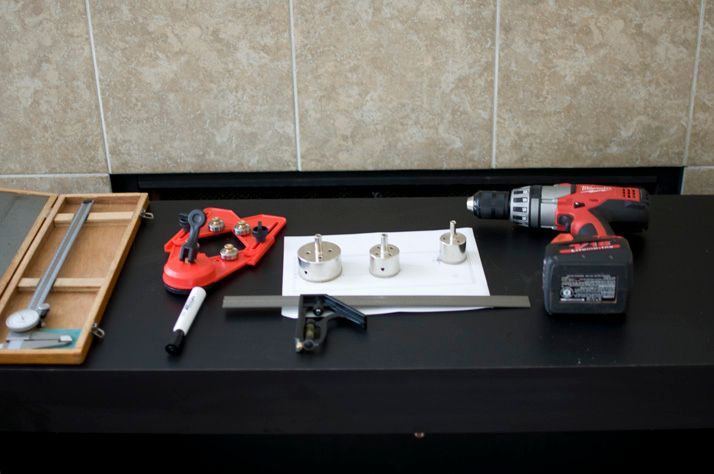
Here are all my tools so I am sure I have everything I need.
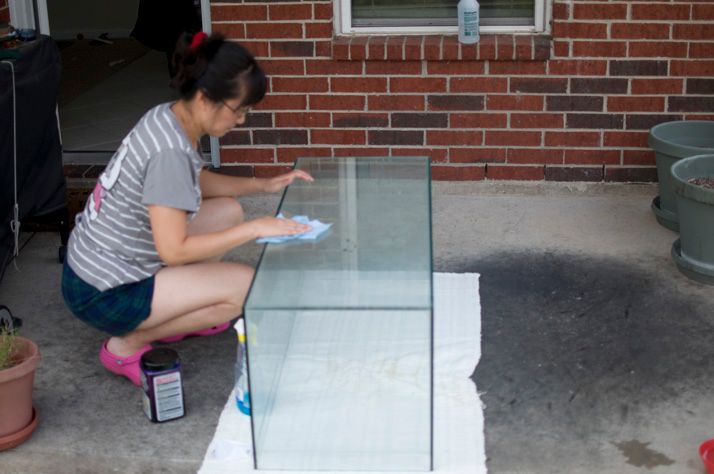
Picture of the wife cleaning the bottom of the tank for layout.
After I gathered all my tools together and the tank was in position on the back patio it was time to lay everything out.
I used a dry erase board marker not a sharpie. After I laid out all the whole positions I decided to move the Eheim 2262 input closer to the River Manifold inputs instead of the middle of the tank.
Only bad thing about the dry erase board marker is once I started the garden hose it got washed away. But it is easy to just lay out each hole before cutting. I know no one would see it but I didnít want to use sharpie on the glassÖ
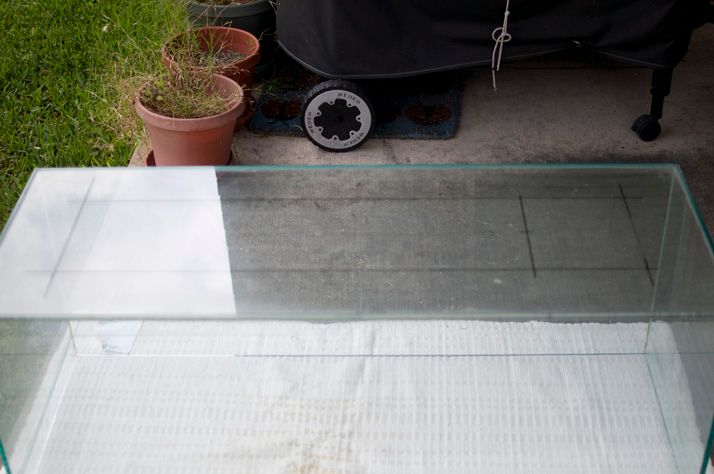
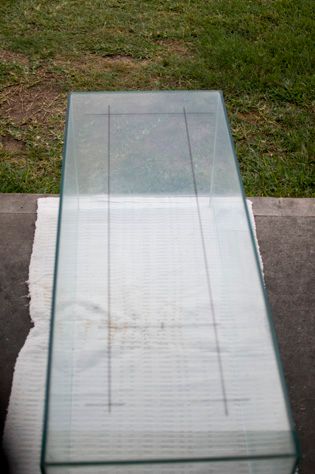
Here are some pictures of the test layout.
I ordered this guide that has four bearings and a suction cup to hold it to the glass. I am glad I did. The tilt start method didnít sound like much fun. Once I got far enough into the glass and I knew the saw would not skip I removed the guide so I could see what was going on.
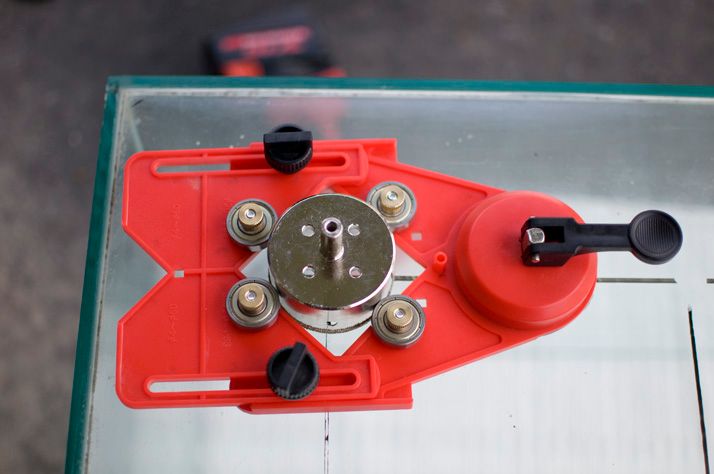
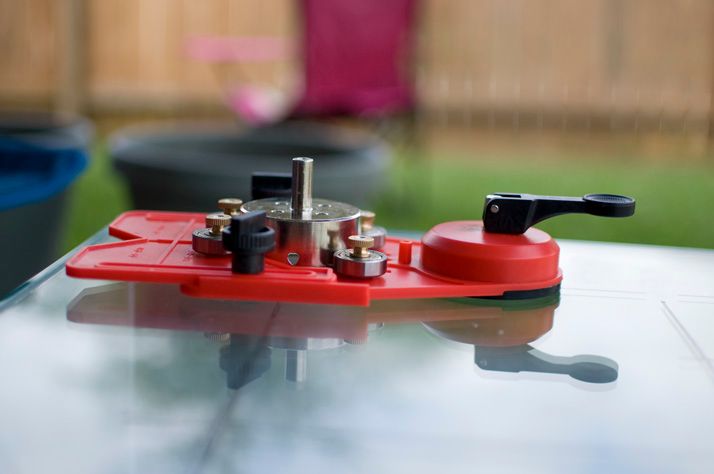
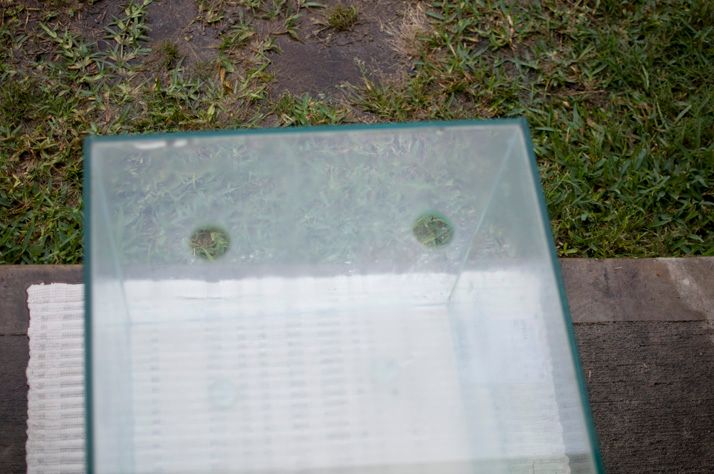
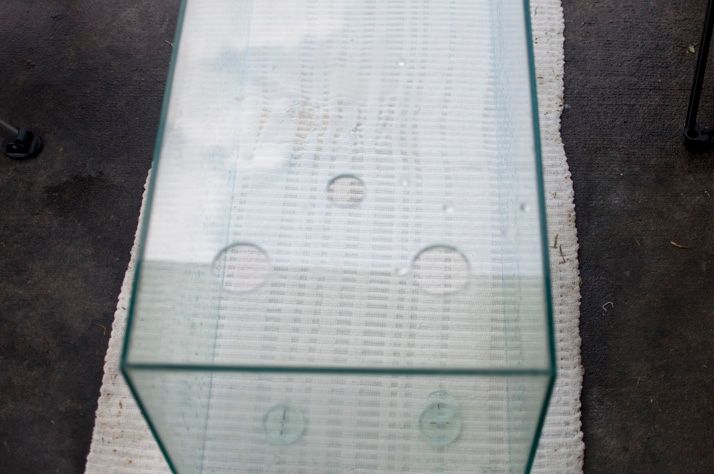
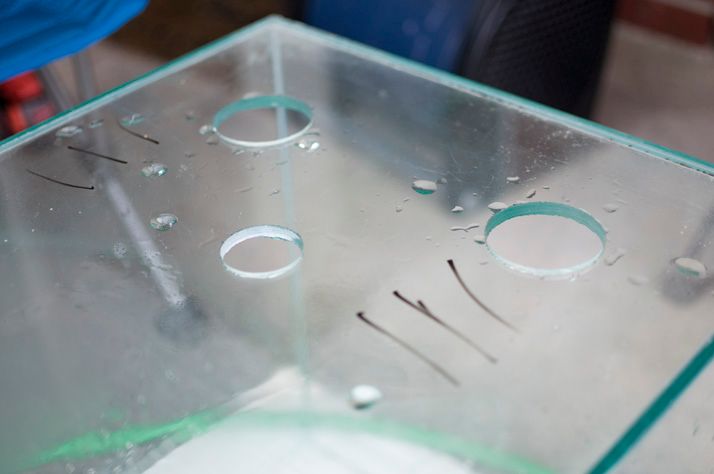
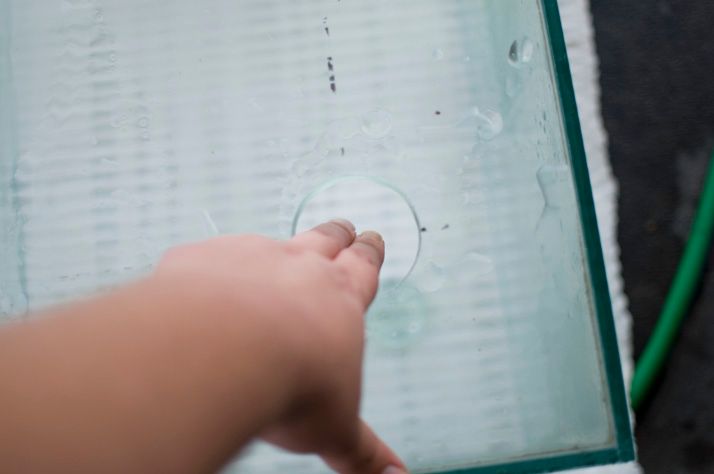
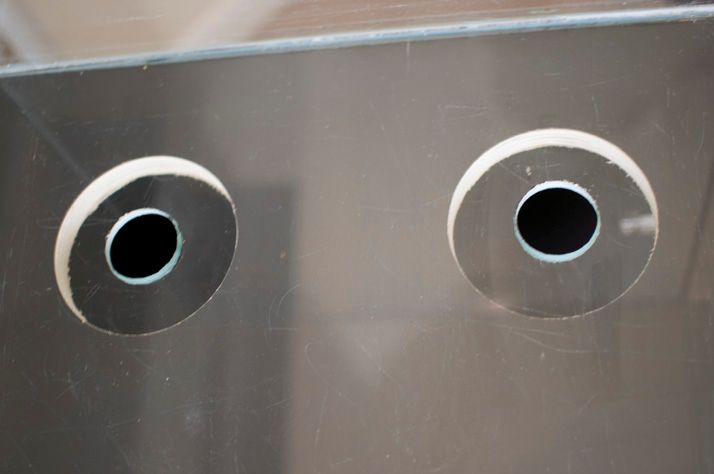
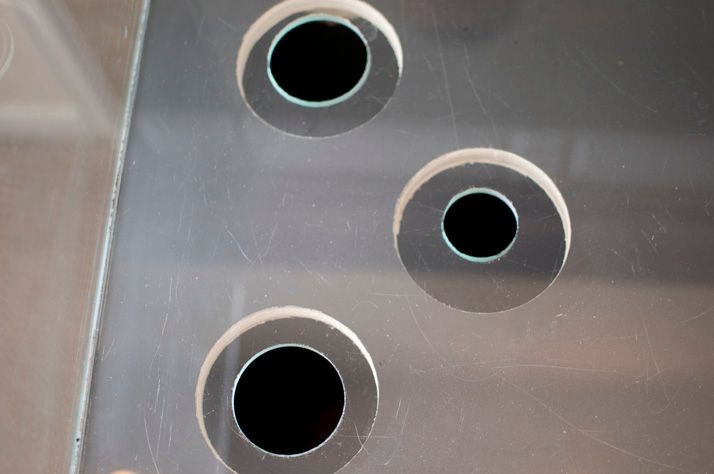
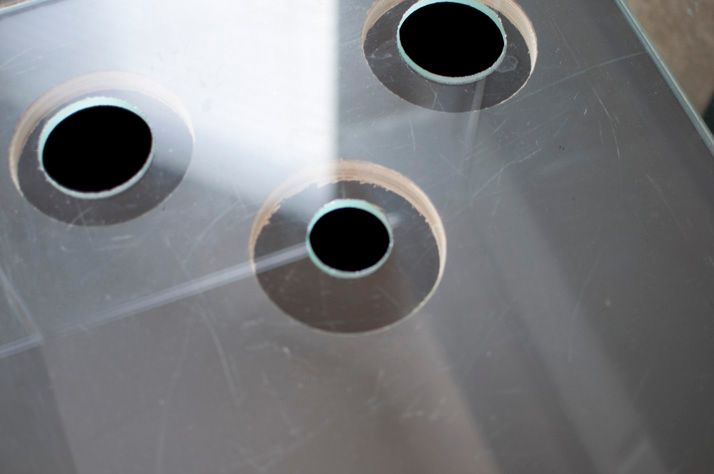
Here are a some pictures of the holes.
Total of five holes after I cut the holes took a trip to the Home Depot to get a diamond burr for my dremmel to knock down the sharp edges.
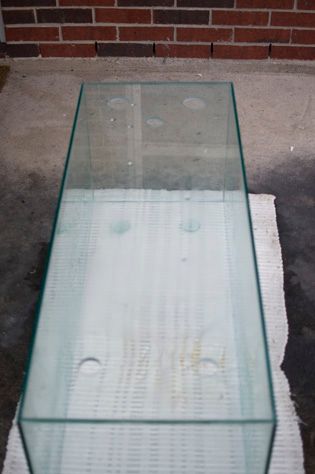
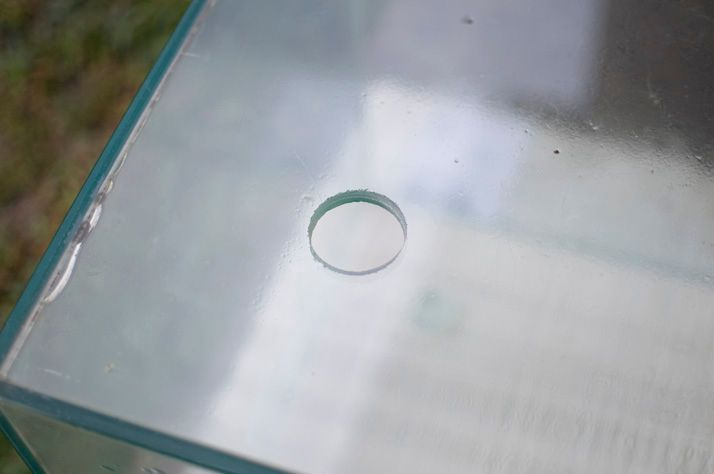
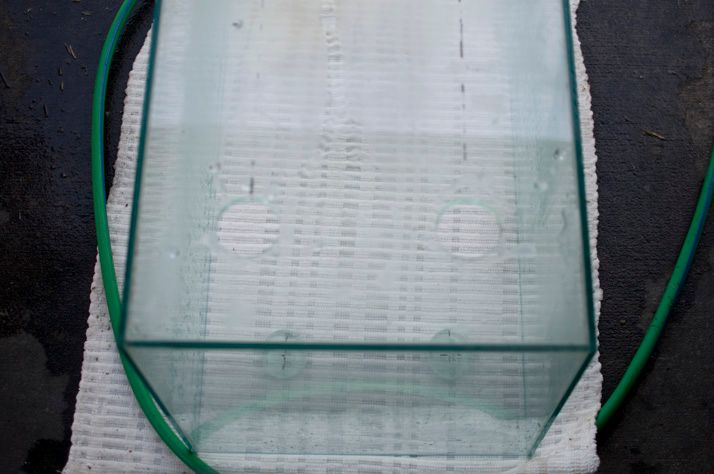
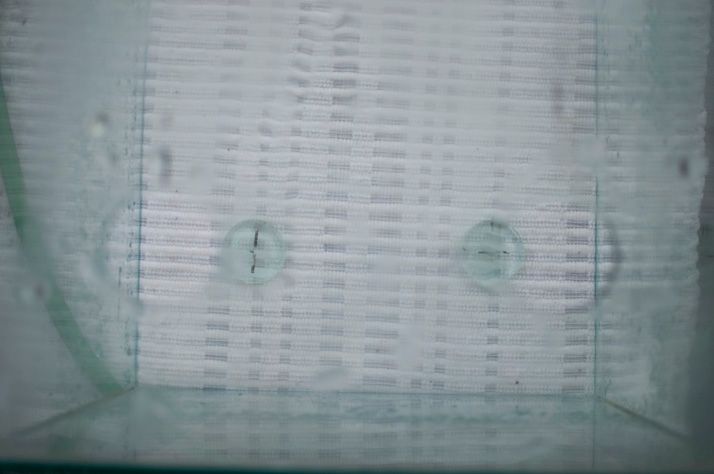
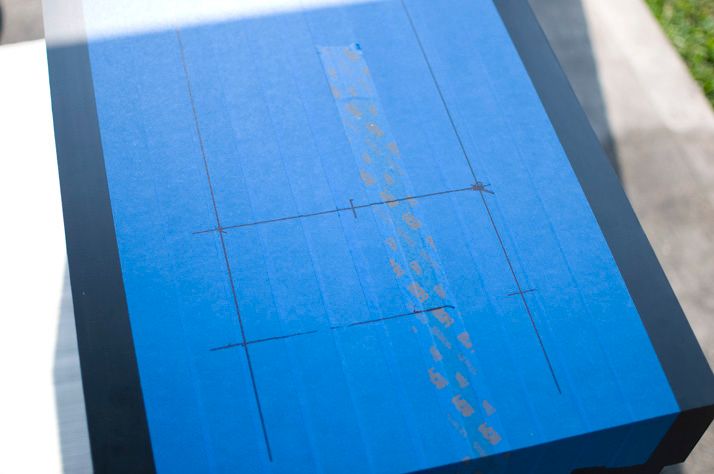
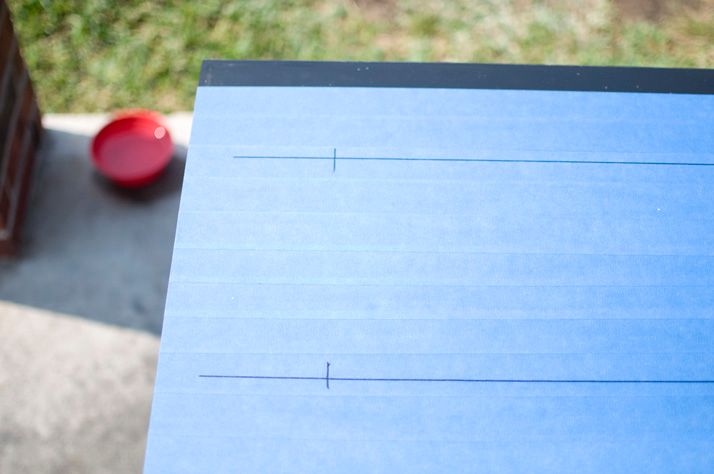
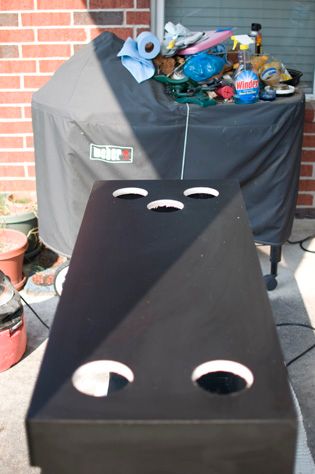
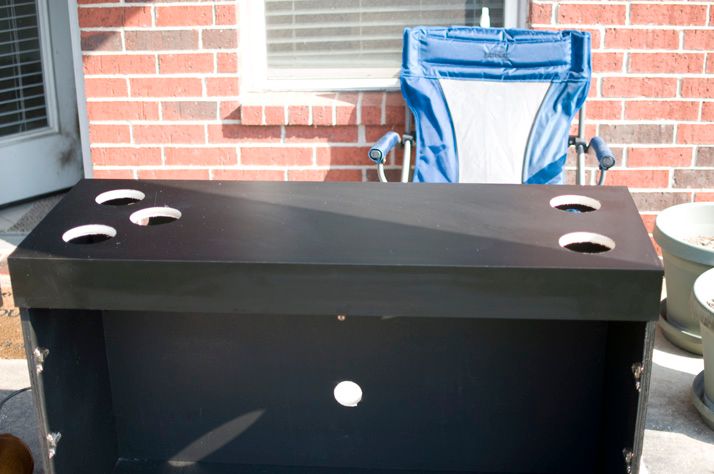
Now it is time for the stand. Covered the top with some blue masking tape so I could use a sharpie this time to lay out hole position. Then I went to town with the hole saw.
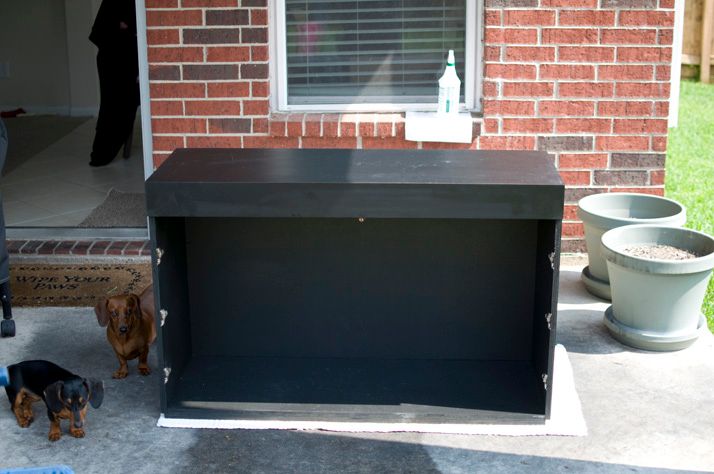
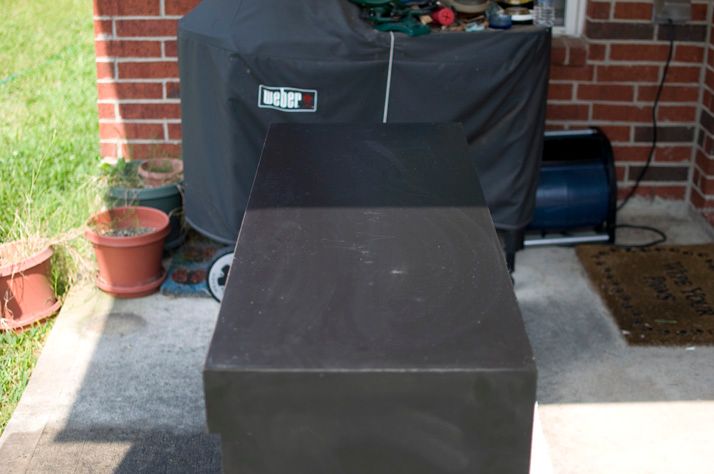
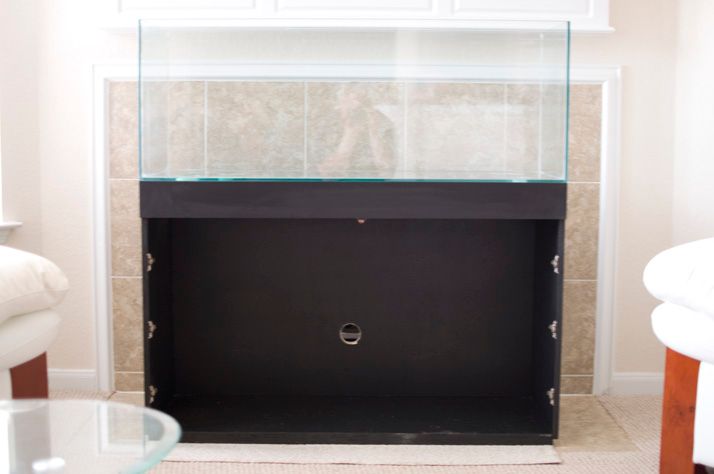
After everything up it was time to bring them both inside and see how they look together.
First I want to say that I had fun cutting these holes today. It isnít bad at all it is all about your speeds and feedsÖ So whose tank gets holes next lol?
So I Got everything I needed to Holes in the bottom of my ADA 120. My wife decided she would take the day off and help out so I didnít hurt my back.
Here are all my tools so I am sure I have everything I need.

Picture of the wife cleaning the bottom of the tank for layout.

After I gathered all my tools together and the tank was in position on the back patio it was time to lay everything out.
I used a dry erase board marker not a sharpie. After I laid out all the whole positions I decided to move the Eheim 2262 input closer to the River Manifold inputs instead of the middle of the tank.
Only bad thing about the dry erase board marker is once I started the garden hose it got washed away. But it is easy to just lay out each hole before cutting. I know no one would see it but I didnít want to use sharpie on the glassÖ
Here are some pictures of the test layout.


I ordered this guide that has four bearings and a suction cup to hold it to the glass. I am glad I did. The tilt start method didnít sound like much fun. Once I got far enough into the glass and I knew the saw would not skip I removed the guide so I could see what was going on.


Here are a some pictures of the holes.
Total of five holes after I cut the holes took a trip to the Home Depot to get a diamond burr for my dremmel to knock down the sharp edges.


Now it is time for the stand. Covered the top with some blue masking tape so I could use a sharpie this time to lay out hole position. Then I went to town with the hole saw.


After everything up it was time to bring them both inside and see how they look together.


 )
)
Comment