 Tweet
Tweet
Well a few of you may have noticed me asking a few questions over the last couple months. My reef tank is at a good "wait and let it grow" point and it was time to start the next project. I have been trying to decide the direction I was going to take with my next project tank. At this point, I have decided to make it a freshwater tank and 90% sure it will be designed with a few plants and discus in mind.
The tank is a 5' 110 tank that I had previously built into the wall. I moved away and came back and decided I wanted to change it up. I am really bad about remembering to take pictures before start a project so we will have to start the pictures after I removed the facing of the cabinet work that I had done a few years back. Let's just say you aren't missing much.
To help me give the old set up a face lift, I enlisted the help of the guys at Mapleridge Custom Homes (mapleridgecustomhomes.com) to give me a hand. It's owned by my friend and fellow aquarium hobbiest Jim and he liked the ideas I had. If anyone needs any custom cabinet work or aquariums stands, his guys do fantastic work.
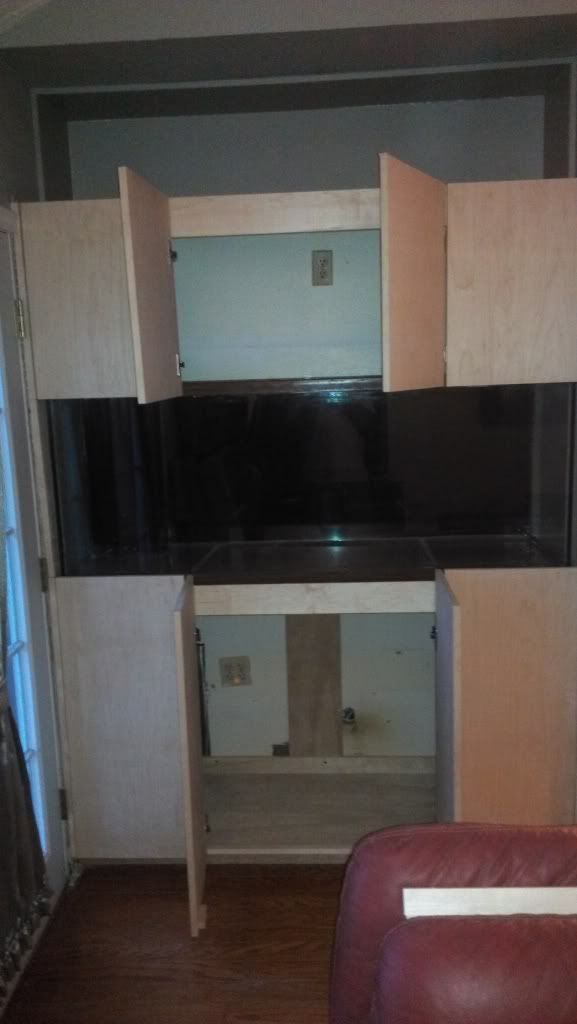
This is what the set up looked like after I removed the face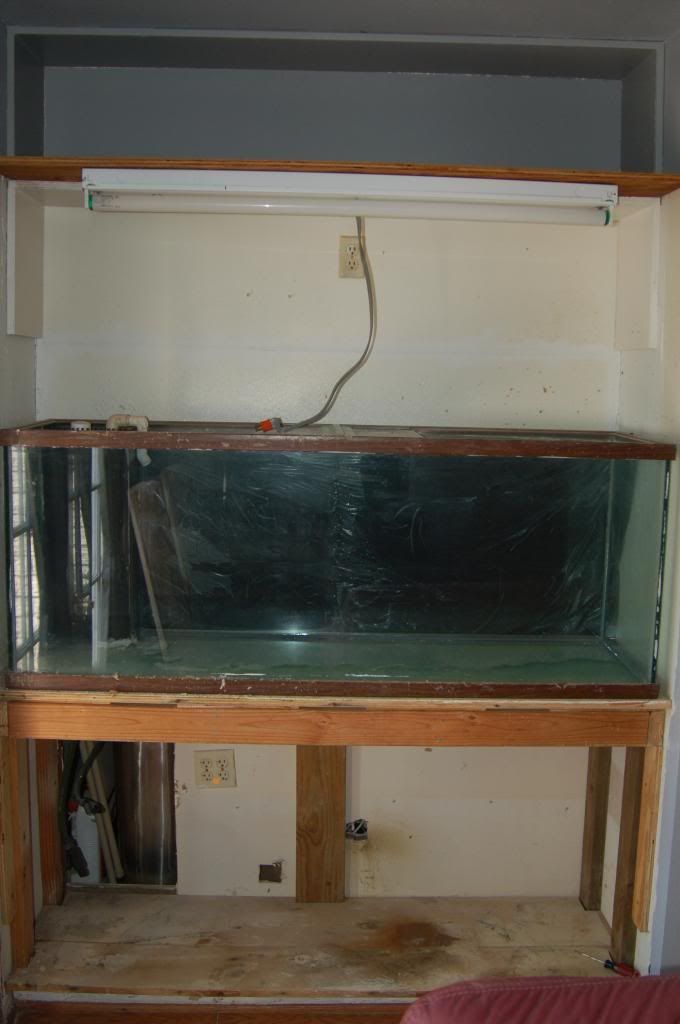
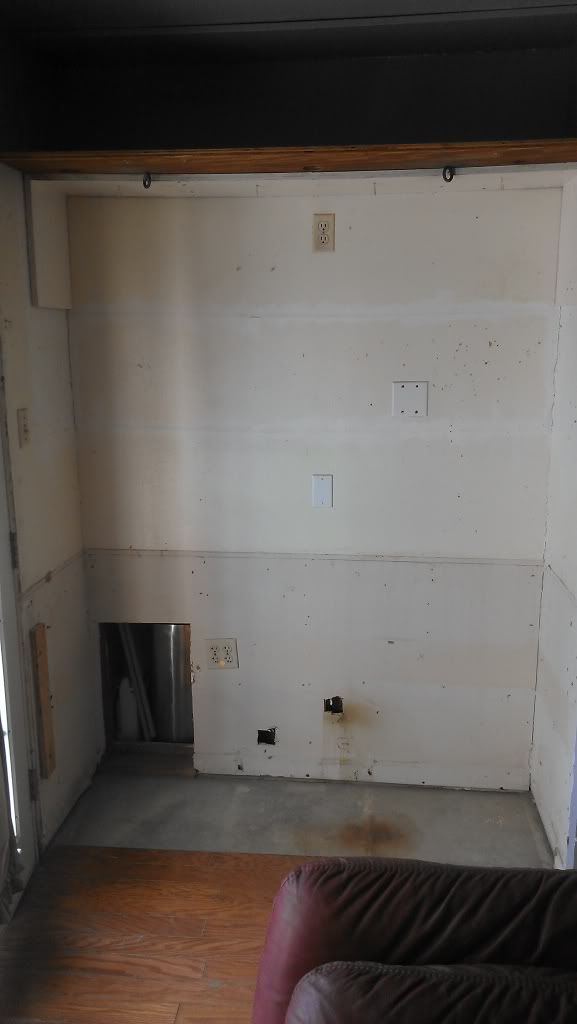
Jim sent his carpenter over and after looking at my handy work, it was clear he didn't like any of it. Even though I told him it had held the aquarium well for years he said it had to go. So we tore it out.
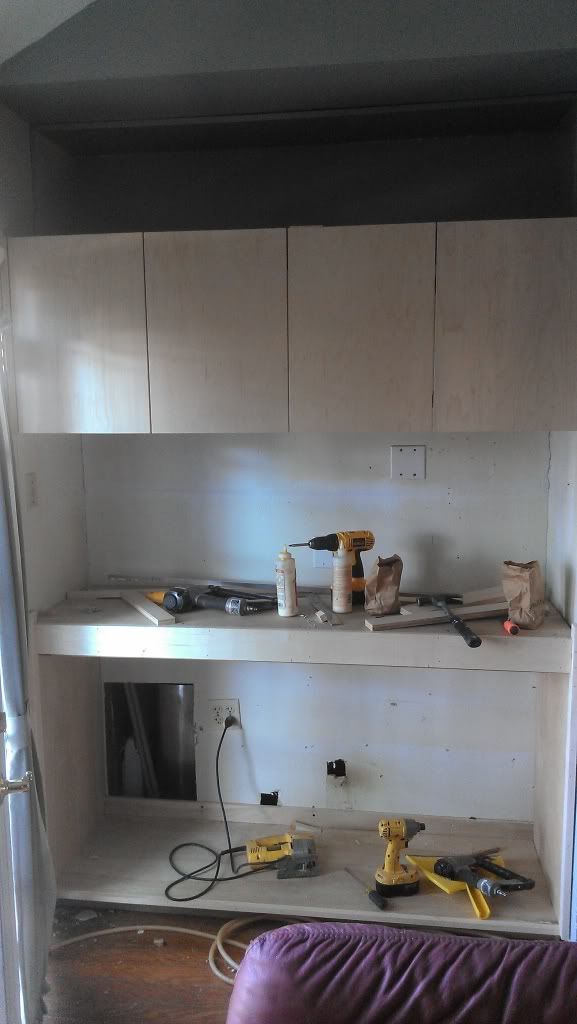
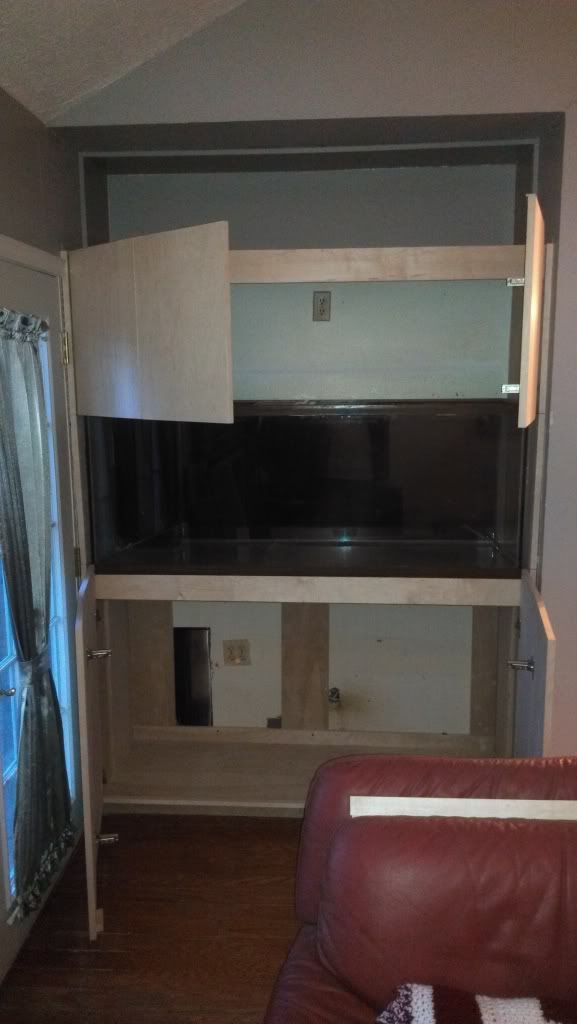
After the tear out it was time for me to get out of the way and let the man do what he does and this is what we have so far.
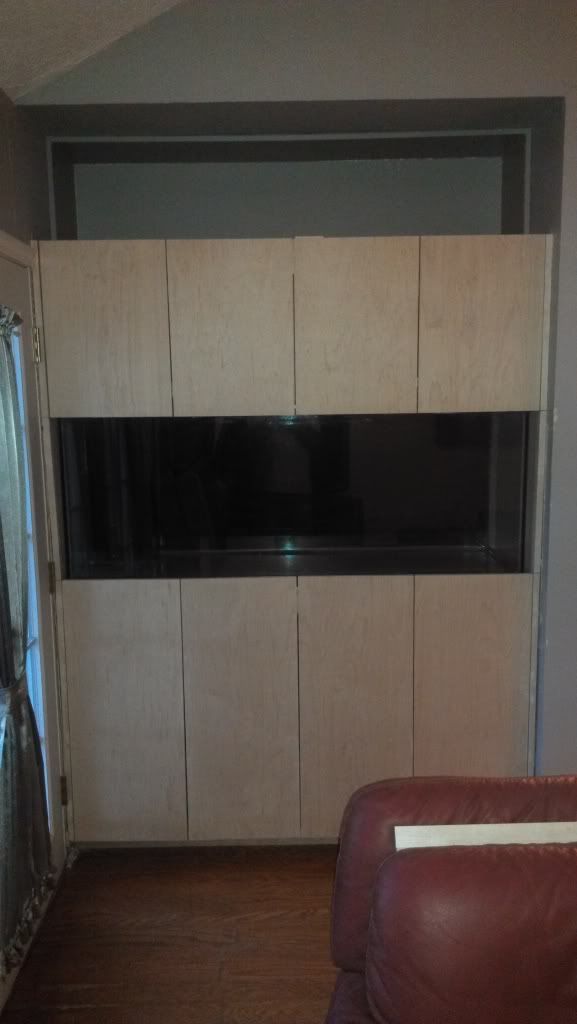
the two pieces you see on the back of the couch fit on either side of the tank so that when installed all you see is the front pane of glass.

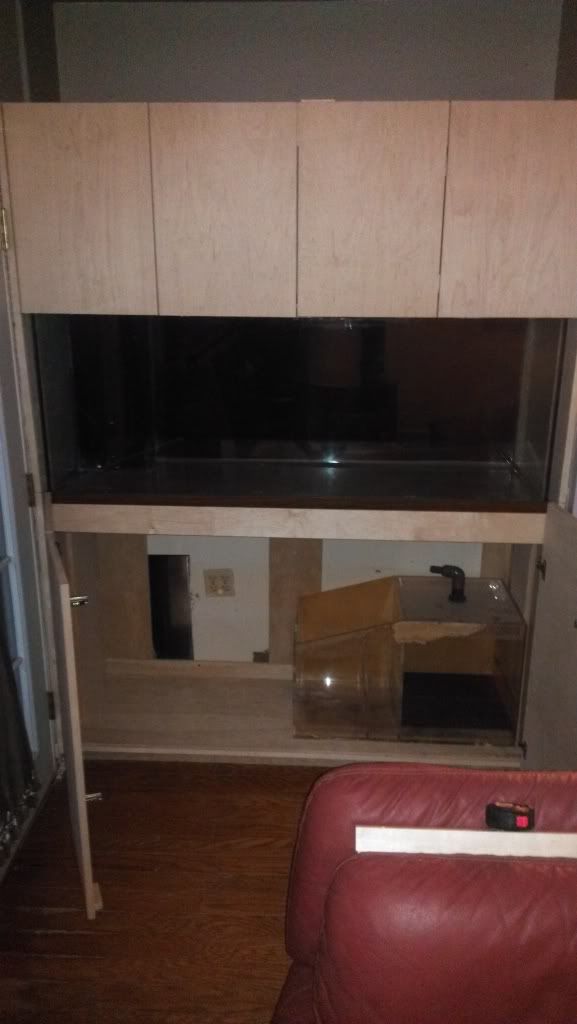
Now this is the part where the progress slows down since I elected to seal the inside of the cabinet and stain the outside myself. What would have taken them a few hrs will probably take me a couple weeks. But, it's no fun for me if I don't get my hands dirty too.
All and all, I am very happy with the work they did on the cabinets and I should have no problem with access to the tank for maintenance. It looks great and it's functional.
I will continue to add to this post as i did for my "Cobraden's 150 build" post.
As I proceed, I will update you guys on the chosen equipment and the progress. So far it looks like I am going to use black sand and a 30"x 16" PM wet dry. The pump has not been decided and neither has the lighting. I may add a co2 set up but I'm not sure if the wet dry will defeat the purpose of the co2 system. I will do a little more research on that.
Feel free to speak up if you see me about to really screw something up. I love the input from others as it always keeps me thinking. To me that is part of the fun of the hobby.
The tank is a 5' 110 tank that I had previously built into the wall. I moved away and came back and decided I wanted to change it up. I am really bad about remembering to take pictures before start a project so we will have to start the pictures after I removed the facing of the cabinet work that I had done a few years back. Let's just say you aren't missing much.
To help me give the old set up a face lift, I enlisted the help of the guys at Mapleridge Custom Homes (mapleridgecustomhomes.com) to give me a hand. It's owned by my friend and fellow aquarium hobbiest Jim and he liked the ideas I had. If anyone needs any custom cabinet work or aquariums stands, his guys do fantastic work.
This is what the set up looked like after I removed the face
Jim sent his carpenter over and after looking at my handy work, it was clear he didn't like any of it. Even though I told him it had held the aquarium well for years he said it had to go. So we tore it out.
After the tear out it was time for me to get out of the way and let the man do what he does and this is what we have so far.
the two pieces you see on the back of the couch fit on either side of the tank so that when installed all you see is the front pane of glass.
Now this is the part where the progress slows down since I elected to seal the inside of the cabinet and stain the outside myself. What would have taken them a few hrs will probably take me a couple weeks. But, it's no fun for me if I don't get my hands dirty too.
All and all, I am very happy with the work they did on the cabinets and I should have no problem with access to the tank for maintenance. It looks great and it's functional.
I will continue to add to this post as i did for my "Cobraden's 150 build" post.
As I proceed, I will update you guys on the chosen equipment and the progress. So far it looks like I am going to use black sand and a 30"x 16" PM wet dry. The pump has not been decided and neither has the lighting. I may add a co2 set up but I'm not sure if the wet dry will defeat the purpose of the co2 system. I will do a little more research on that.
Feel free to speak up if you see me about to really screw something up. I love the input from others as it always keeps me thinking. To me that is part of the fun of the hobby.


Comment