 Tweet
Tweet
that would be really cool
-
-
Love it when I get new toys in the mail.
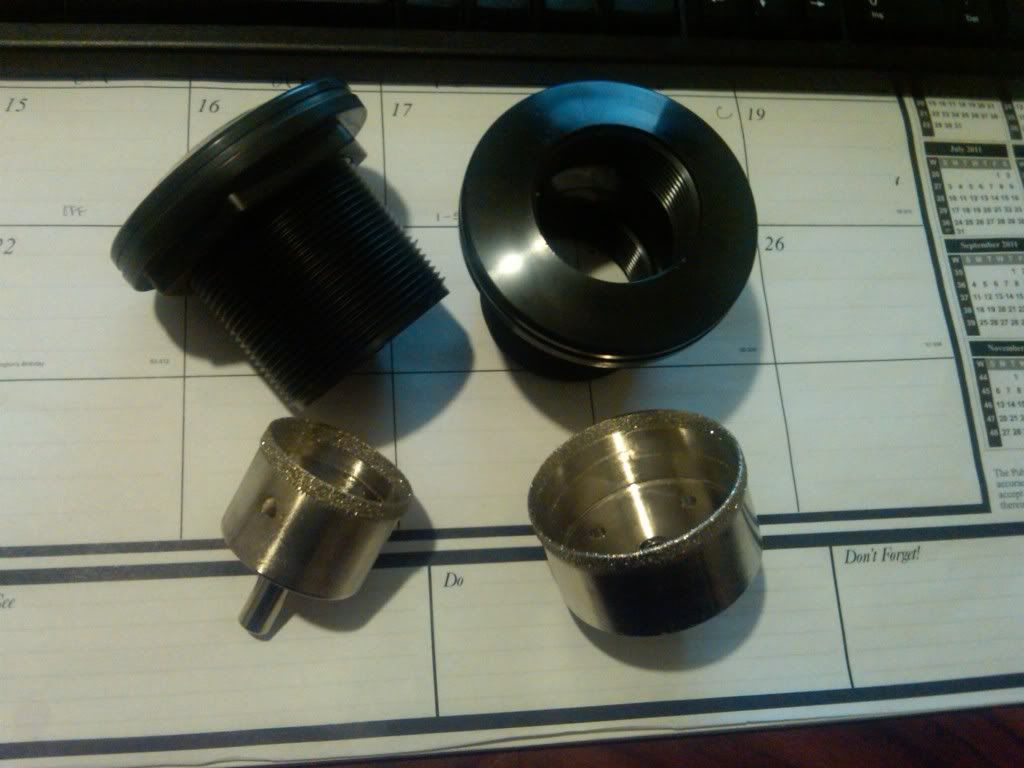
1 - 2 3/8" glass hole saw
1 - 1 3/4" glass hole saw
2 - bulkheads for my 1 1/2" drains
Already had the bulkheads for the returns.
Looks like this weekend it may be time to try my hand at some glass drilling!Comment
-
Sweet, good luck on the glass drillingComment
-
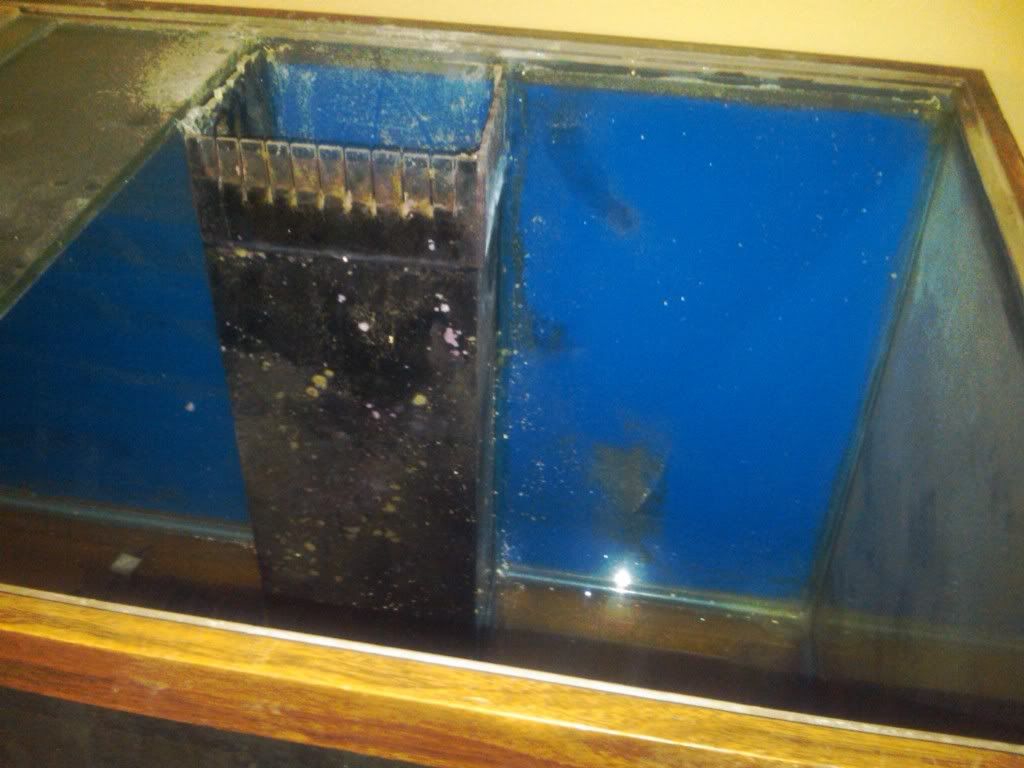
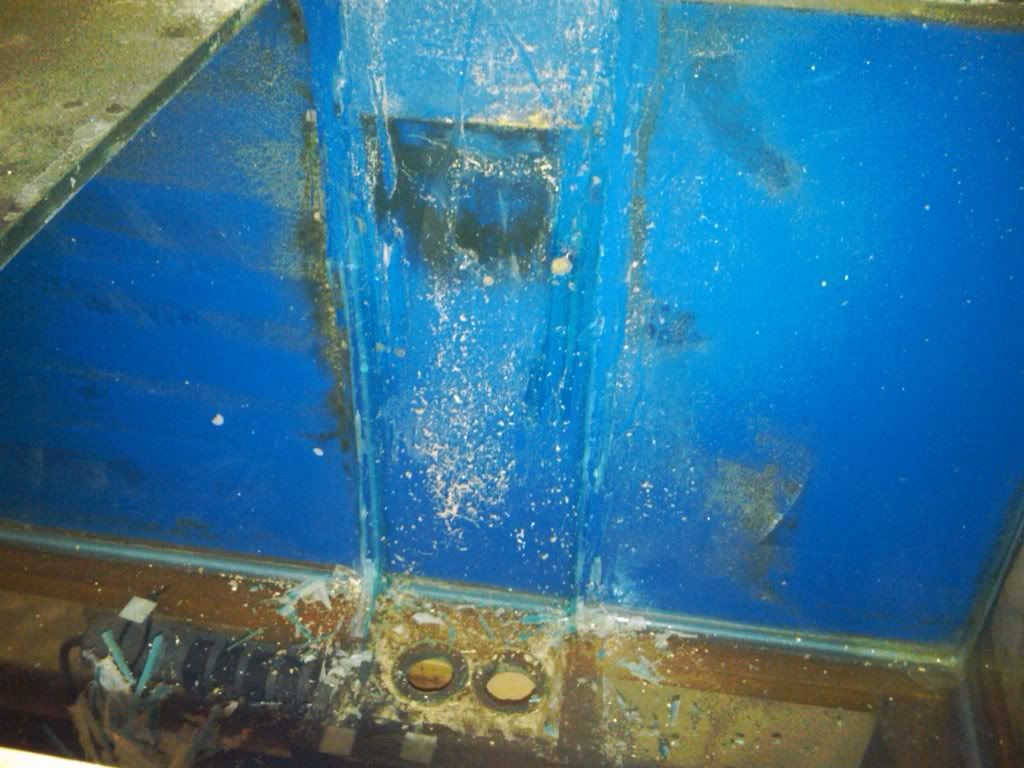
My plans for the evening got rescheduled so...since I didn't really feel like going out I decided to make a little progress. I removed the old overflow. Ok baby steps. I was going to remove the centerbrace as well but havent quite figured out how I'm going to get it out. I will think about that tomorrow.
Stephen, the box is all yours if you still want it.
Before
After
Comment
-
Just make sure you keep water on it to keep it cool, and go REALLY REALLY SLOW.Originally posted by cobraden View Post
Where is the second set of holes going?75 planted (Being Renovated)
Endlers
gobies
lots of nanosComment
-
I am starting to think that due to the amount of flow that I want going through the sump, I will use something similar to "herbbie" method. Where the old box was, I think I will enlarge one of the holes for the 1.5" drain. The other hole will serve as the return line to my manifold. On the other side, at the back, I will drill one for the drain and the other will be the emergency overflow just in case something clogs my other drains. Thinking ahead, if I don't like the way the manifold works, I can always convert both smaller pipes to returns and go with durso's for the drain.Comment
-
Any updates?Comment
-
Finally back at it...long update
Well sometimes life gets in the way of our best laid plans so it's been a while (over a year) since I really made any significant progress with this build but now I'm back at it.
Since the last update I've:
resealed the tank since the silicone looked really bad
added an extra 1 1/2" drain since it only had a 3/4" drain
I put in a new overflow box but will be doing a little cosmetic work given my routing skills were not that great.
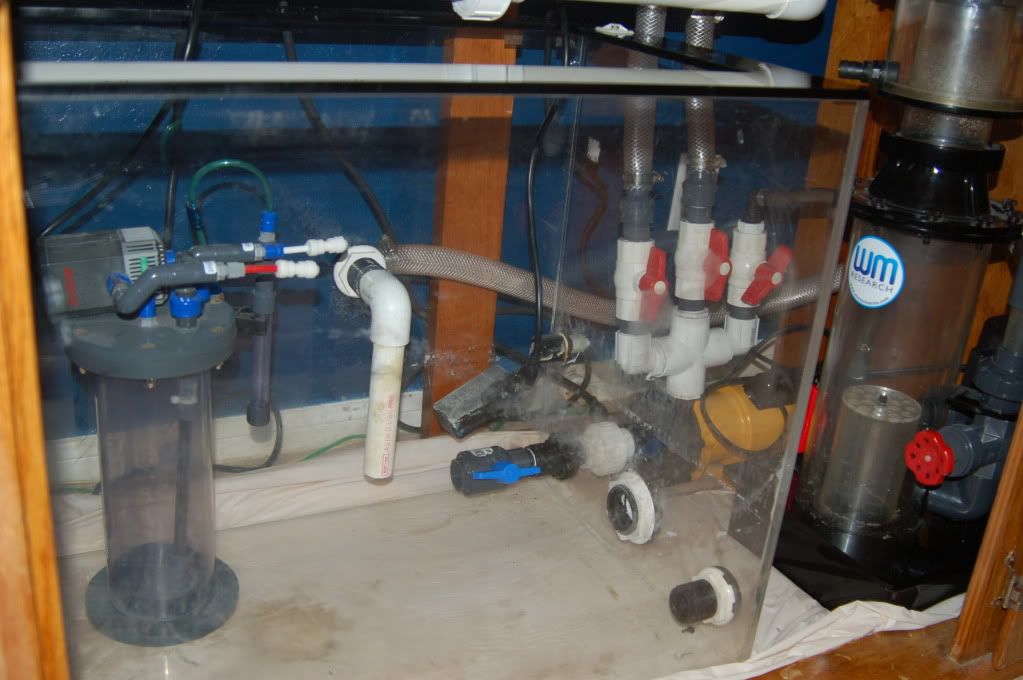
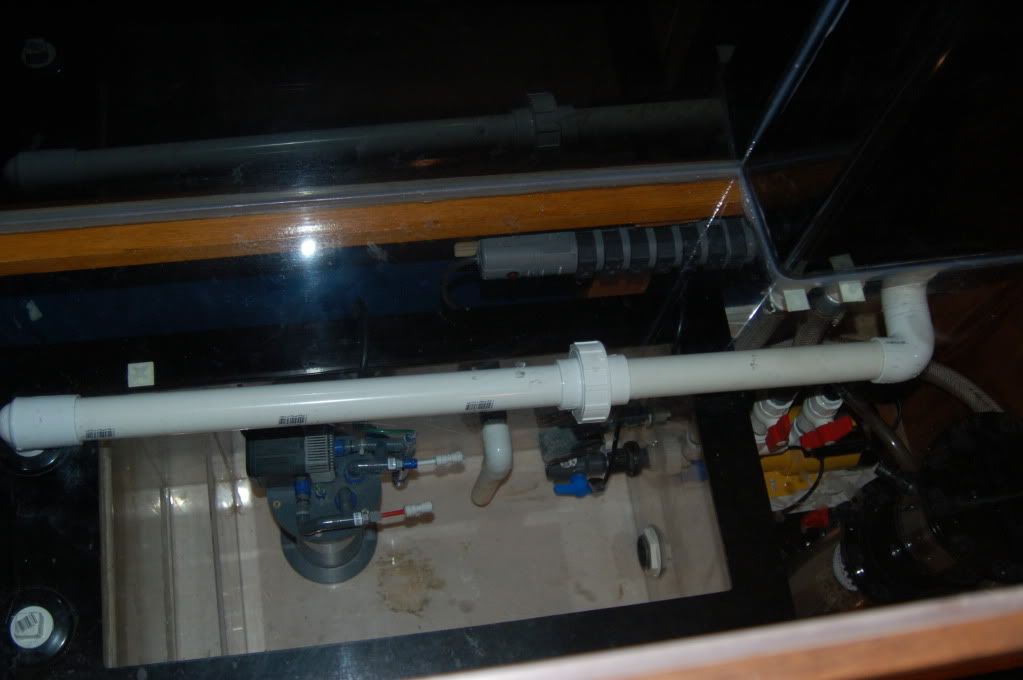
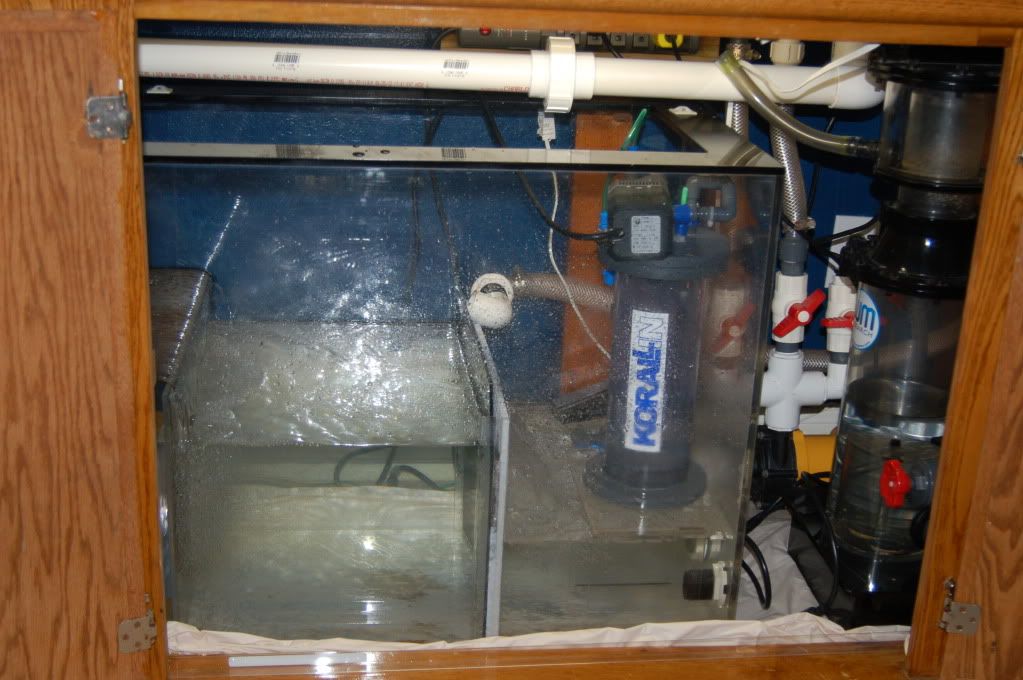
Making a little bit of progress. I was able to fit almost everything under the cabinet. I think the only thing that will be setting on the outside will be the co2 tank for the calcium reactor. Due to some space constraints, I ended up putting shut off valve for the return pump inside the sump so that everything would fit. Only need it for when I do pump maintenance and I usually get wet doing that anyway so it wasn�t a big deal.
top view
I was also able to get the pieces for my new metal top brace cut and welded. It went the powder coater after I did my leak test. Pretty sure I won't miss that big ugly center brace.
Feels good to finally start making some progress.
Yesterday I started off by heading over to the powder coater and picking up my metal center brace.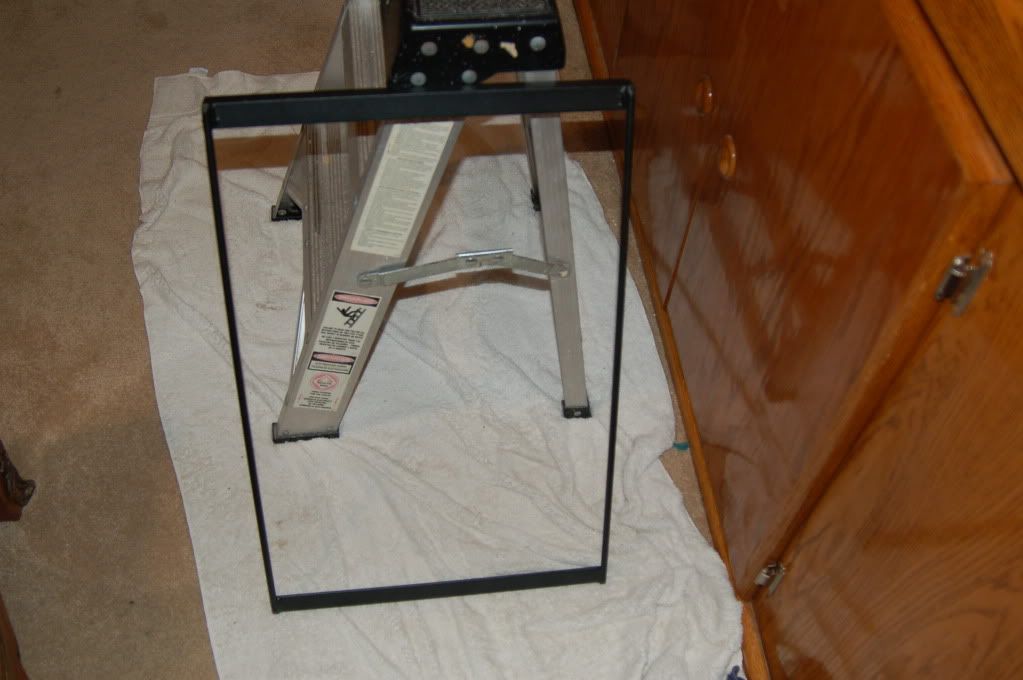
They did a great job on it and it should stand up to the salt spray very well.
Then it was off to pick up some water so I loaded up my 100 gallon water storage container and went and picked up 100 gal of fresh water. Got home added salt and let it mix.
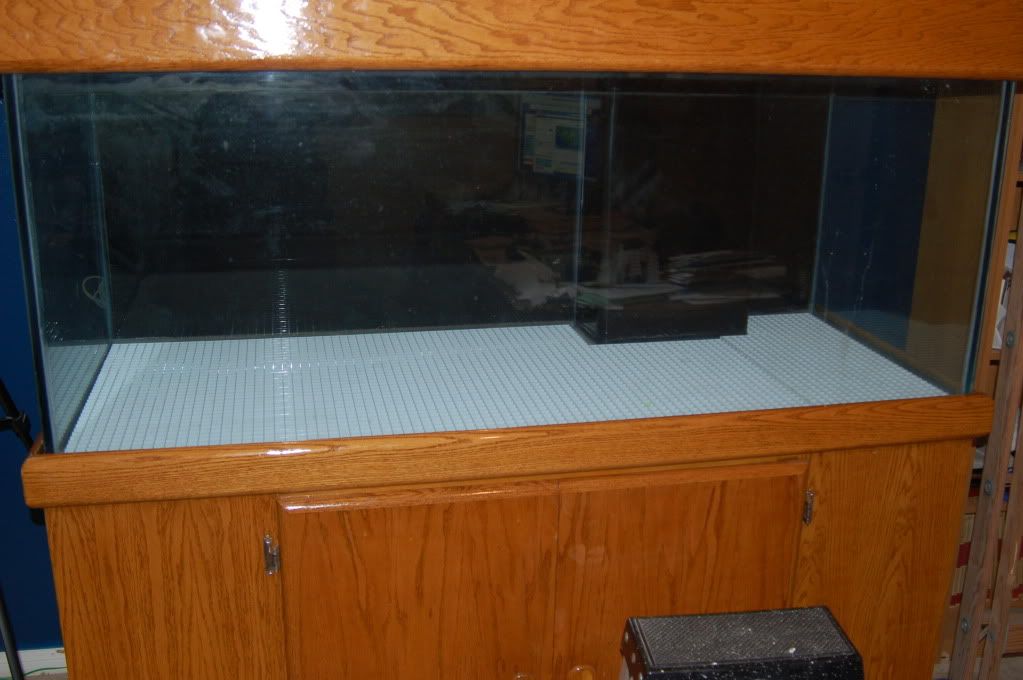
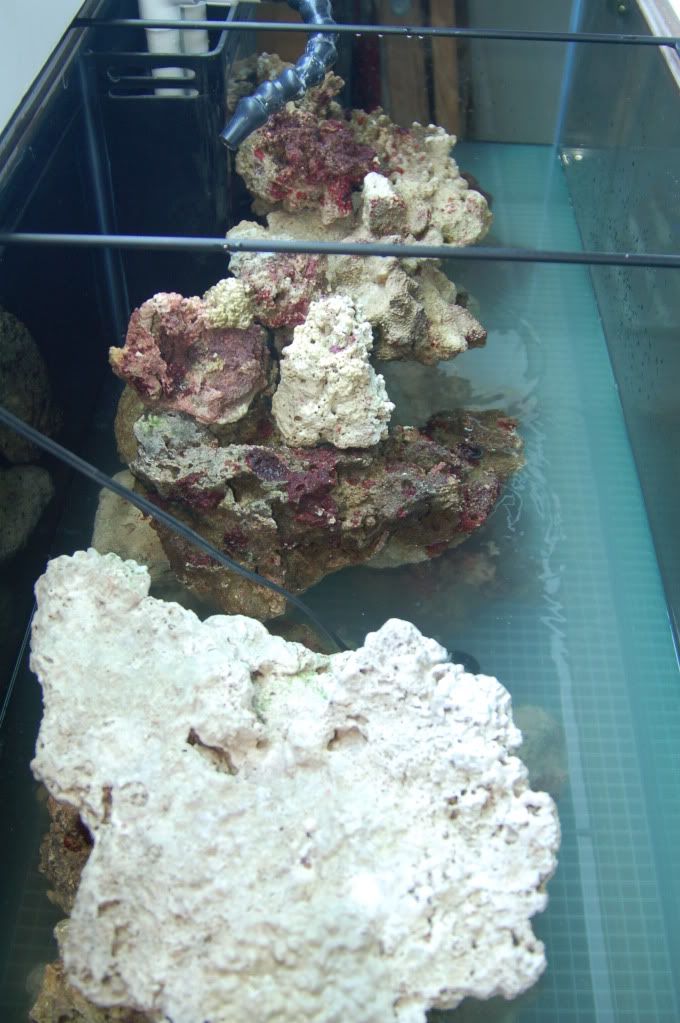
This go round I decided to try using egg crate under the rock to reduce rock movement when sand moving fish decide to relocate my substrate.
Now it was time to turn my attention to the live rock. I had a few pieces that I had let dry out since I broke down my other tank but I had just crammed a bunch of it in a 100 gallon tank and it has had light and decent water circulation. My nieces came over to help so we got to cleaning the rock that had been sitting by the patio and then it was time to stack.
we started with a piece of live rock I like to call "Tiny"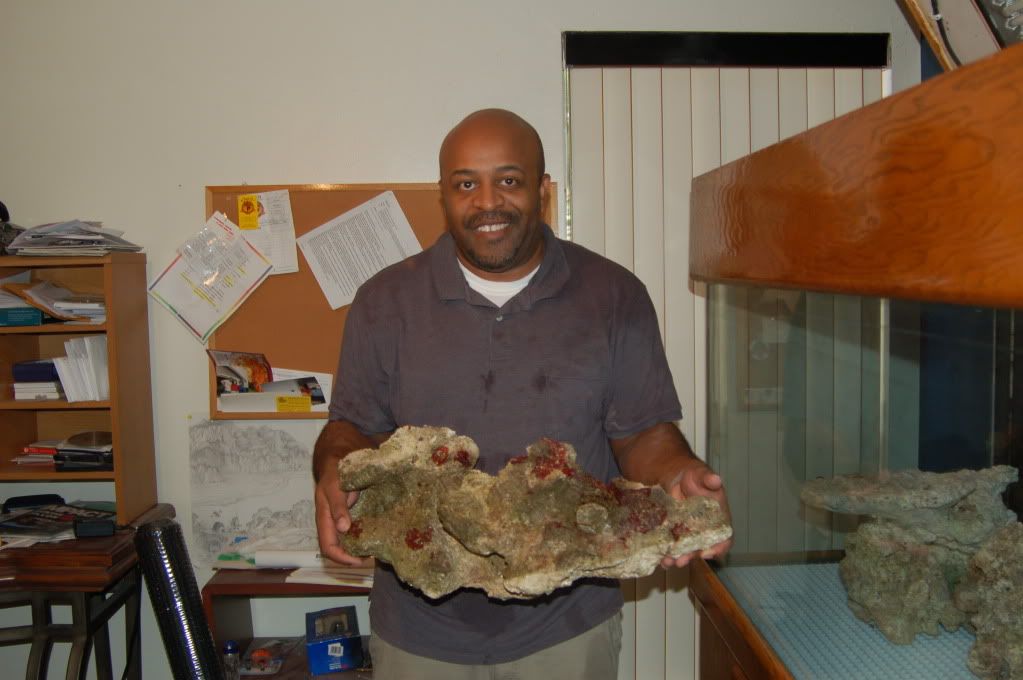
that piece alone probably weighs 30-40 pounds
Then we worked on the stack until we all came to an agreement.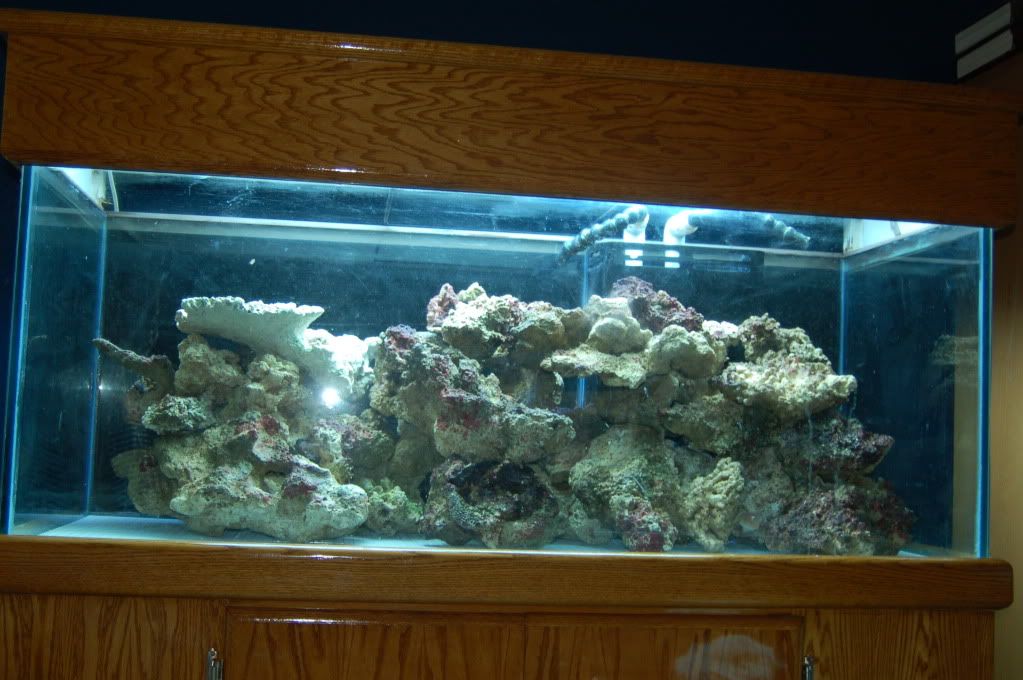
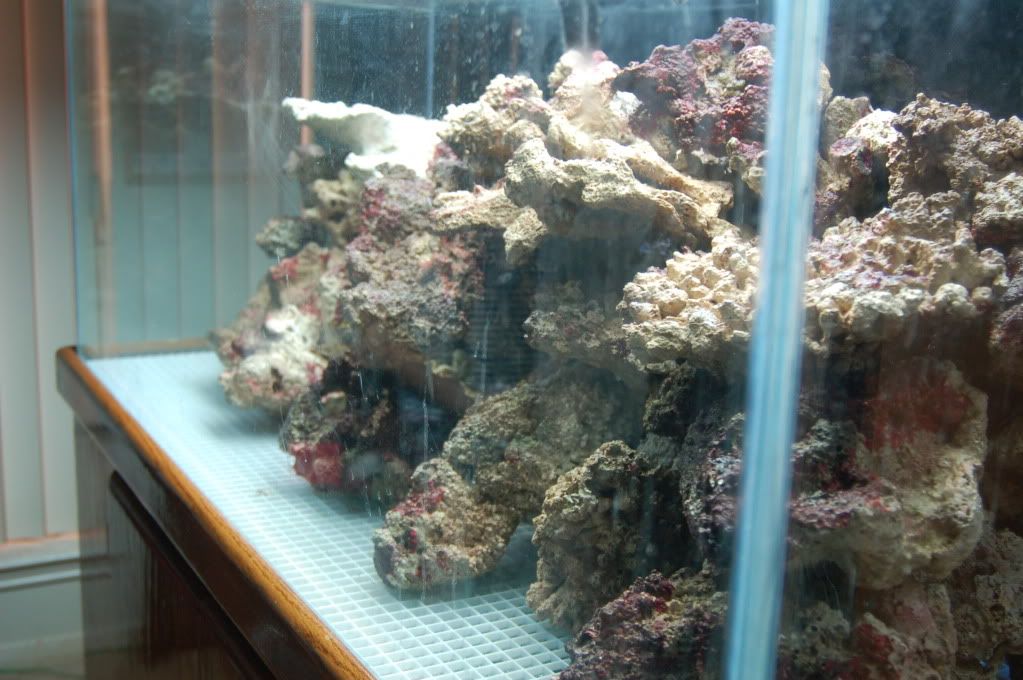
Then I added water and stirred :o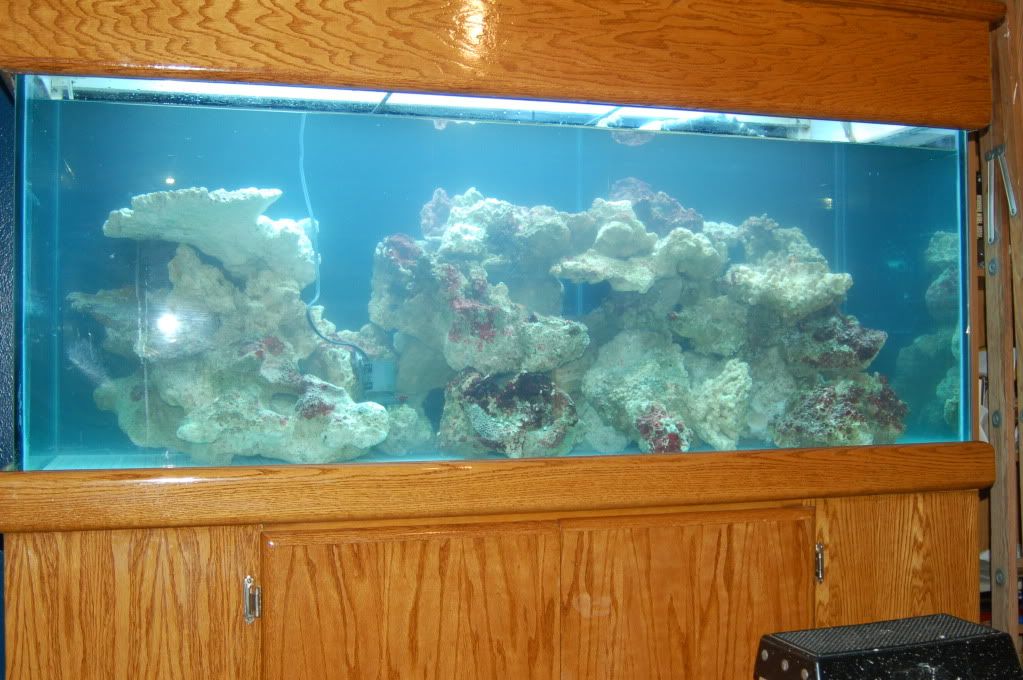
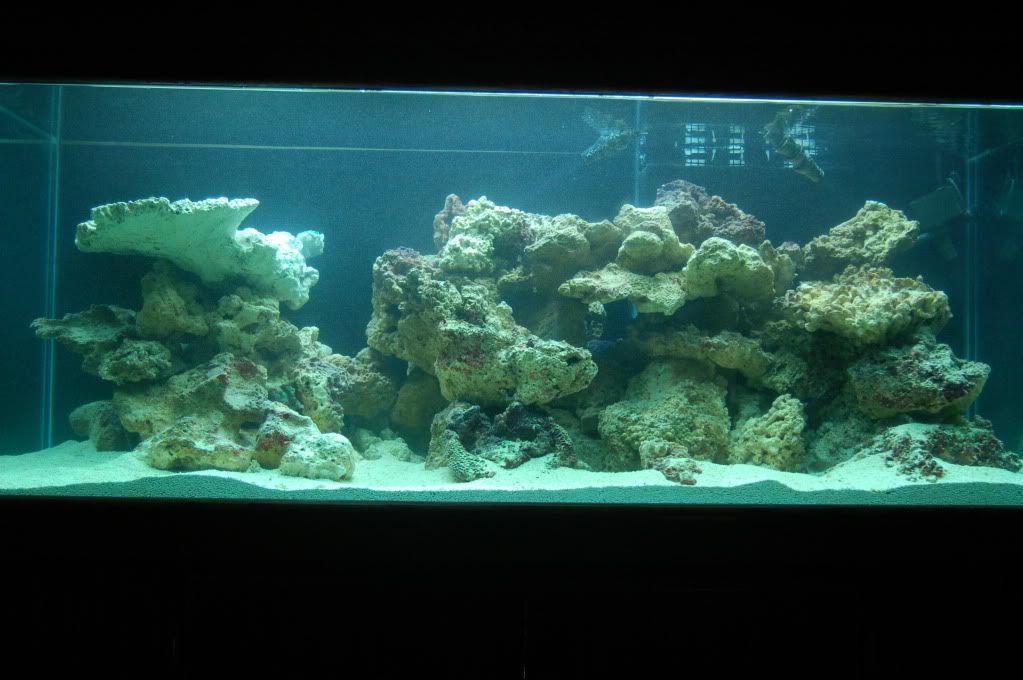
The stack turned out as I had hoped with lots of places for coral placement and tons of caves and swim throughs for the fish. You can't tell from the pics but the fish will be able to swim completely around the rock in the center of the tank.
Right now I just have some powerheads circulating the water in the tank. I will add water to the sump tomorrow and get the system fired up. Things are starting to get exciting.Comment
-
Nice man. It was good to meet you yesterday too. Now you better make sure to post up pics of the tank as they set-up and you pick out their corals.Comment
-
Good job looks greatComment
-
Made a little more progress.
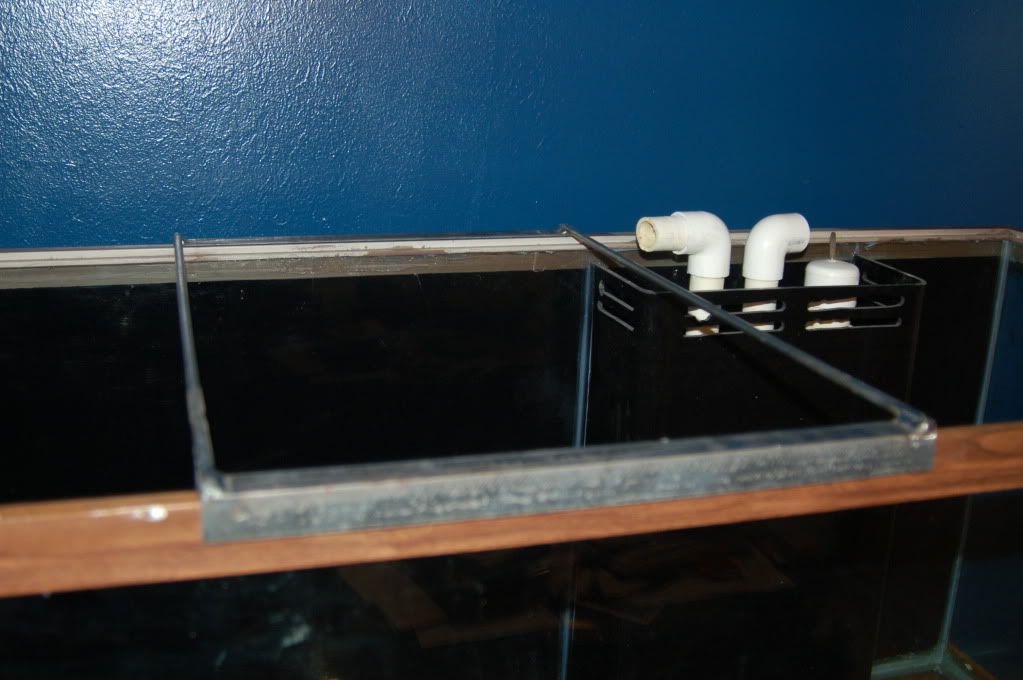
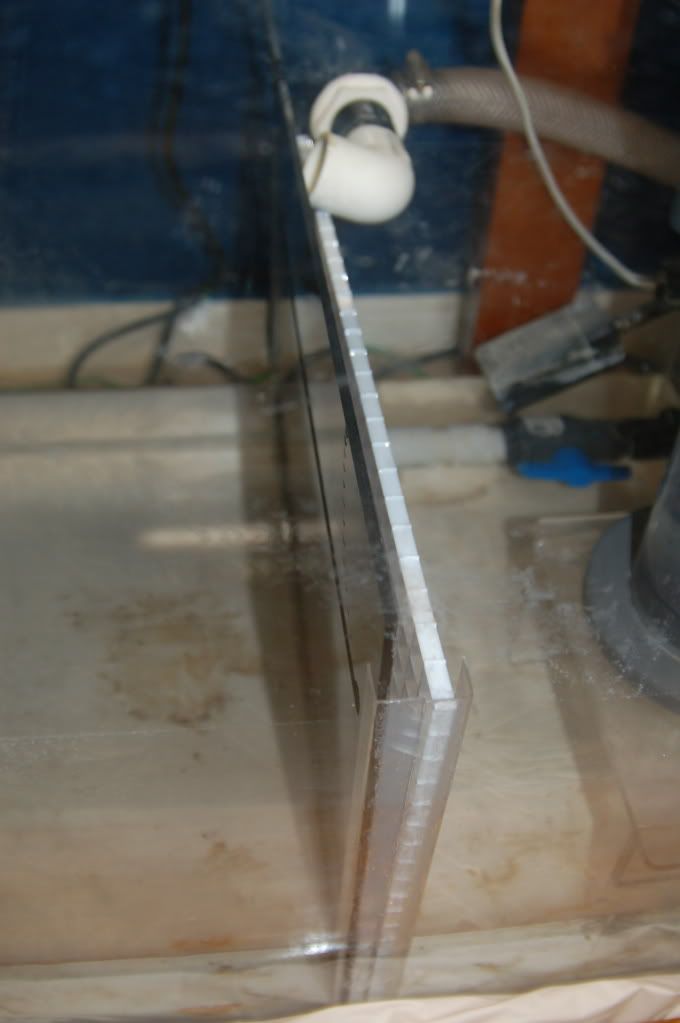
Decided to do a little work on the sump before I fired everything up. It was pretty much an open box. I wanted to add a divider but knowing my tendency to want to change things up from time to time, I didn't want to glue one in and be stuck with that config forever. so I took some "L" shaped acrylic
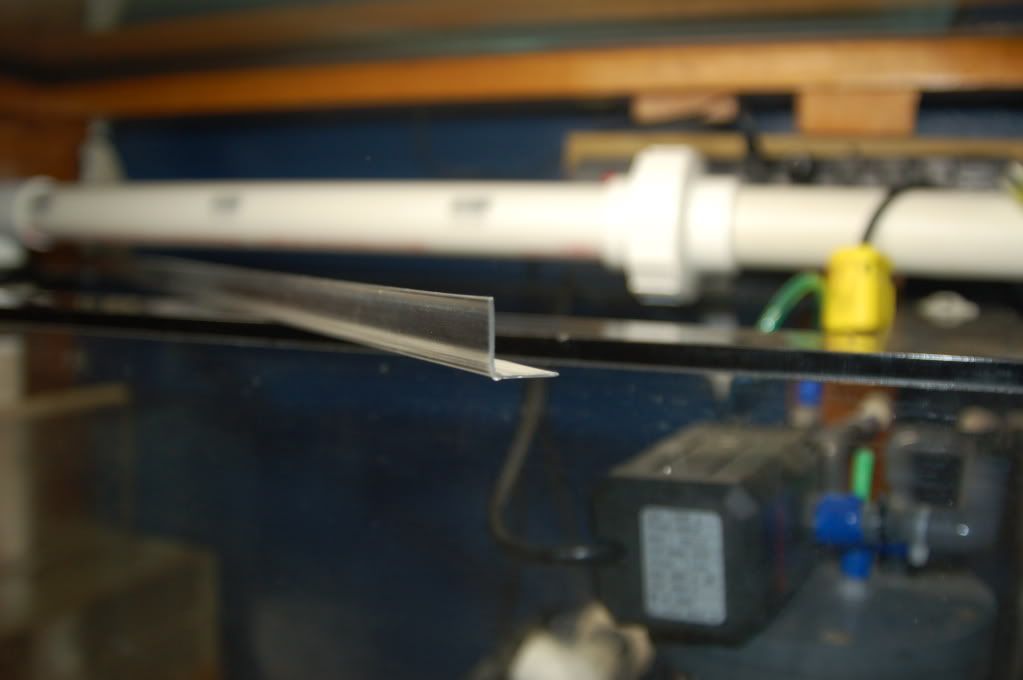
and made a channel so that I could slide my divider in and out. I also made it wide enough so that I could sandwich a piece of filter material between the divider and a piece of egg crate for increased pump protection and to help with micro bubbles. I still need to go pick up some filter material to see how well it does with the bubbles.
After that was done decided it was time to fire up the system.
Pick of the tank with system running and sand in place.
Comment
-
First inhabitants of the new set up.
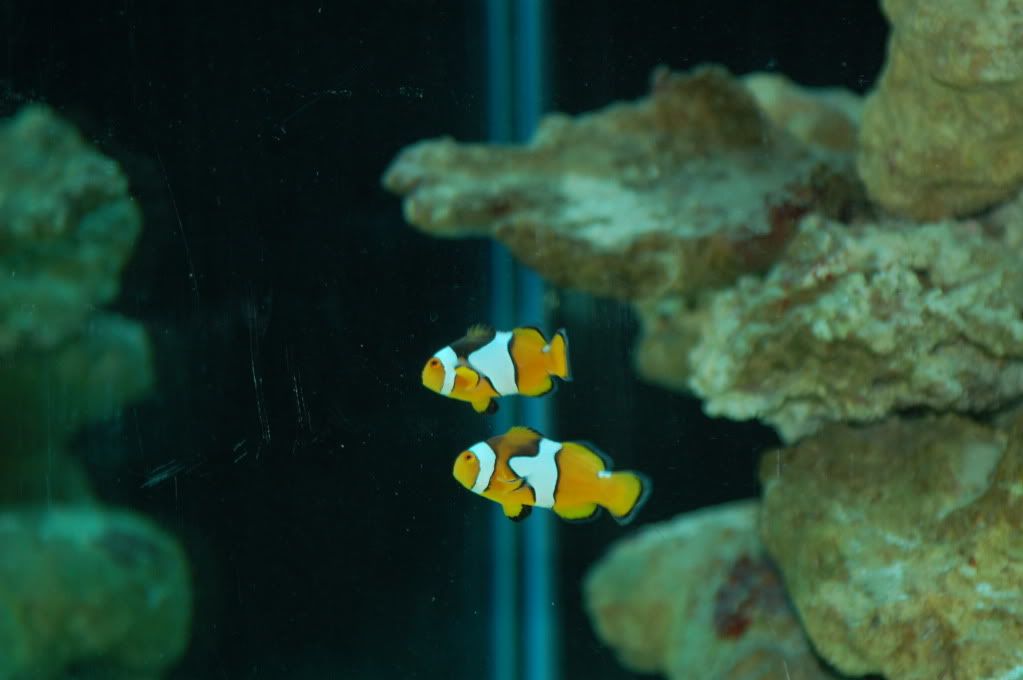
They seem to be loving it.Comment
-
Looking good. How much flow do you have going thru your system? The surface water looks too calm. They say a reef tank should mimic the violent water in the ocean, including the waves beating on to the reef (to a certain extent of course)Comment
-
That depends on what reef environment you are creating. SPS yes but LpS no they are generally in turbid lagoons where there is little flow.Comment
-
currently only about 1800 gallons of flow. I plan to add a couple powerheads on the back wall to create more turbulence. Probably Korillia's or Tunze. I won't add them on the sides because as a personal preference I think they distract from the presentation of the tank but I do like a lot of flow. This will be an sps dominant tank. At least that is the idea as of today.Comment
Comment