 Tweet
Tweet
So, most people here already know I got a free ES driver sent to my house. I finally made the time to do the upgrade and installed the dang thing. So below is a diagram of the process. It was real simple and real fast. I'm liking ecotech's new driver! The new no/off option will come in handle. I have not tried the bother modes let but I like what I see so far.
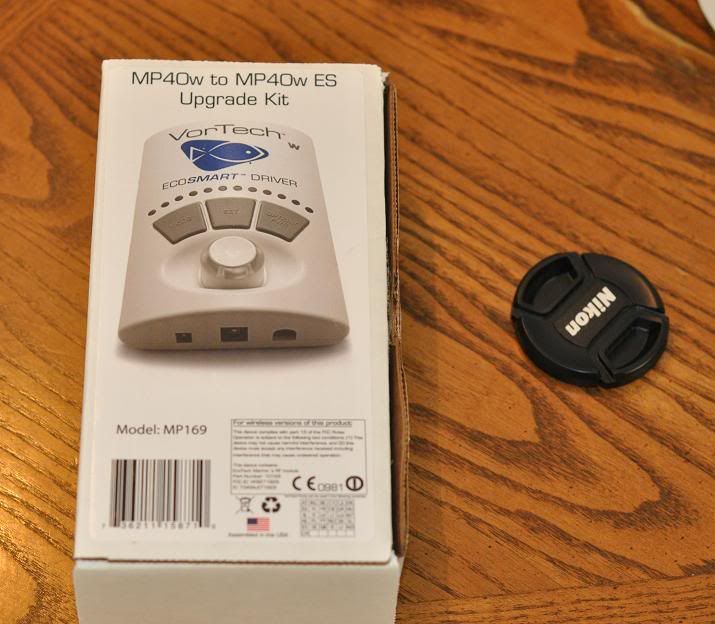
1) Nice packaging as always with ecotech products. (The logo is a big selling point. )
)
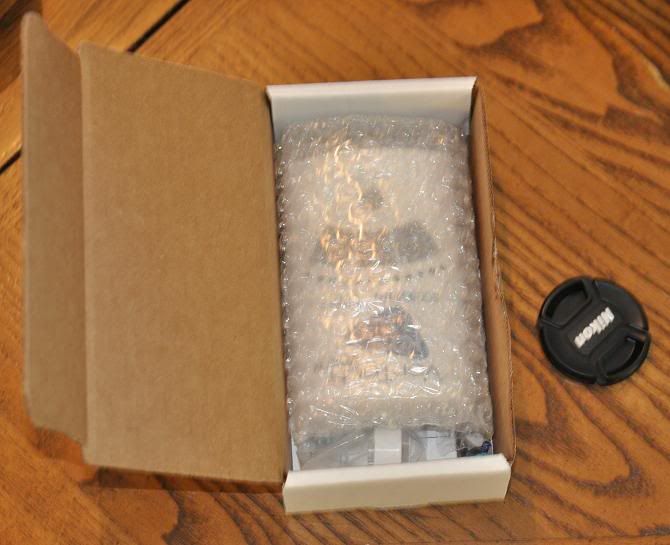
2) The inside.
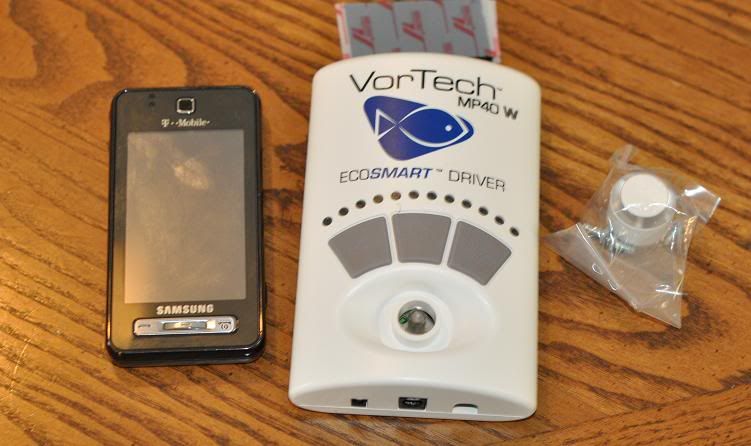
3) All products laid out to make sure everything is there. Also a size comparison next to my phone. Thing on the left is the turn nob from the driver.
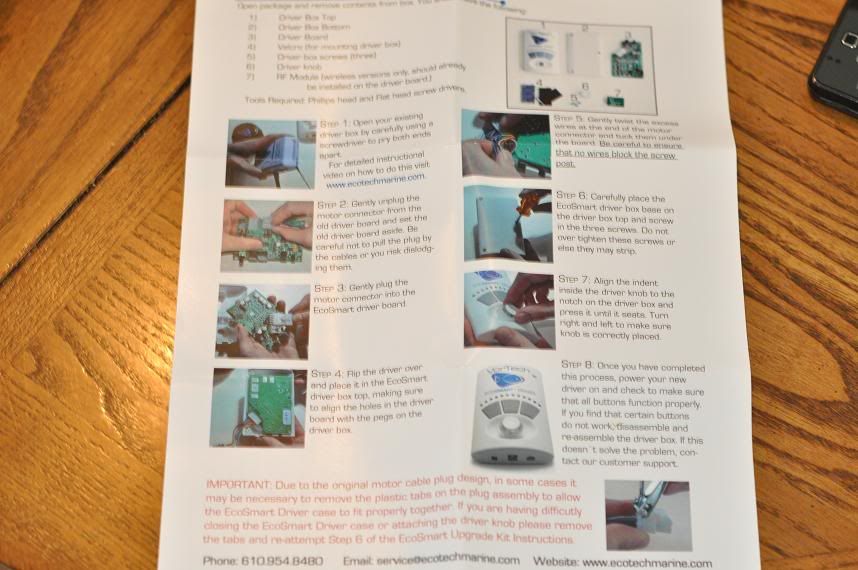
4) Copy of the installations. Like I said above, It's simple.
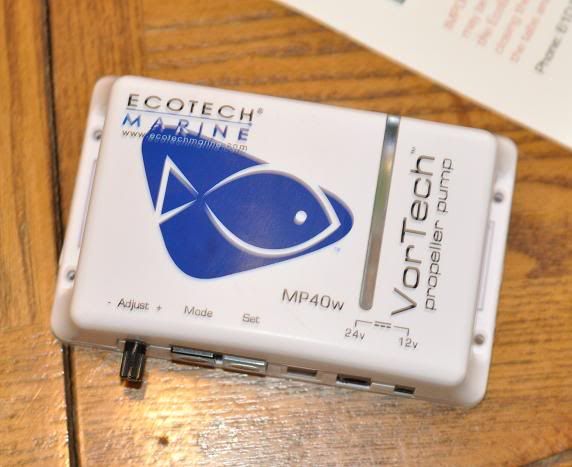
5) I removed the power wire and the batter back up wire to the old driver. Then I used a flat head screw driver to pop the unit opened. Picture of the old MP40w drive.
6) I then removed the dryside connector (not shown in this picture) from the motherboard.Here is an inside picture of the old driver.
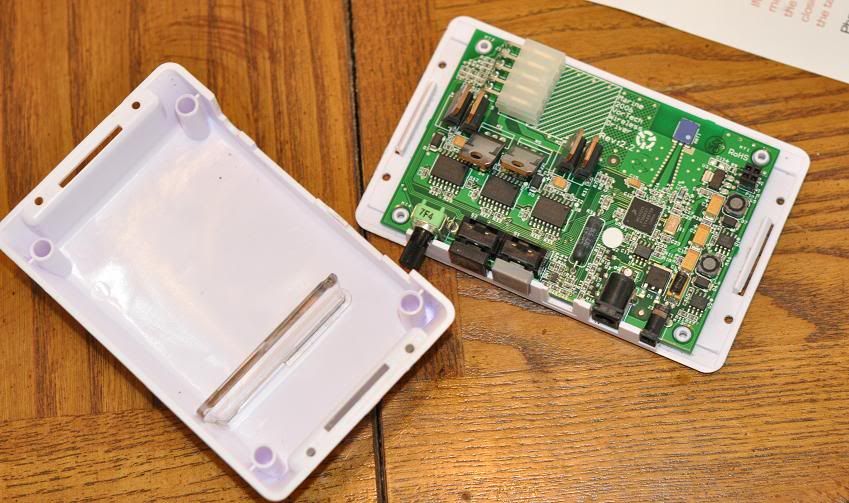
7) I then plugged the dryside connector to the new ES driver. It was as simple and plug and pay. Here is a picture of the front of the mother board. The connector with all the colored wire is the dryside connector.

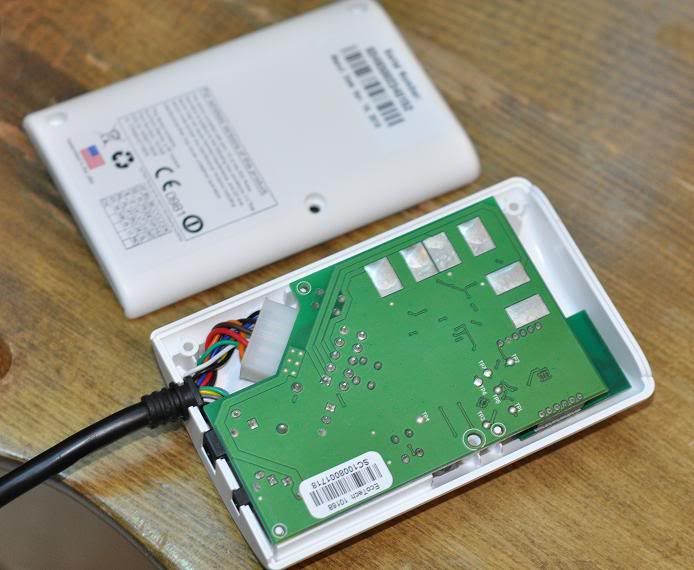
8) I then flipped the mother board over and aligned it with the front plate of the ES driver. I twisted the dryside connector wires to make sure it sat in nicely.
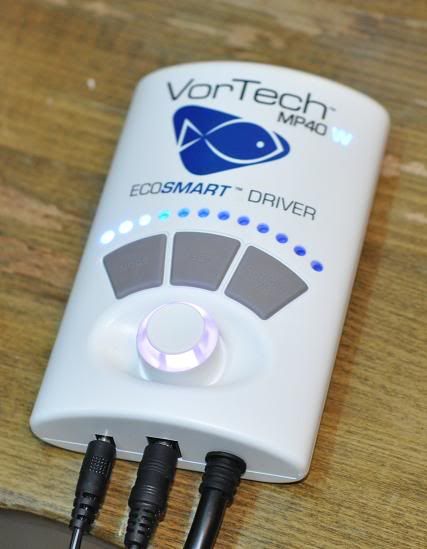
9) I closed the new driver unit with the 3 screws Ecotech provided and plug the power supply back in. Did some testing and it works like a charm.
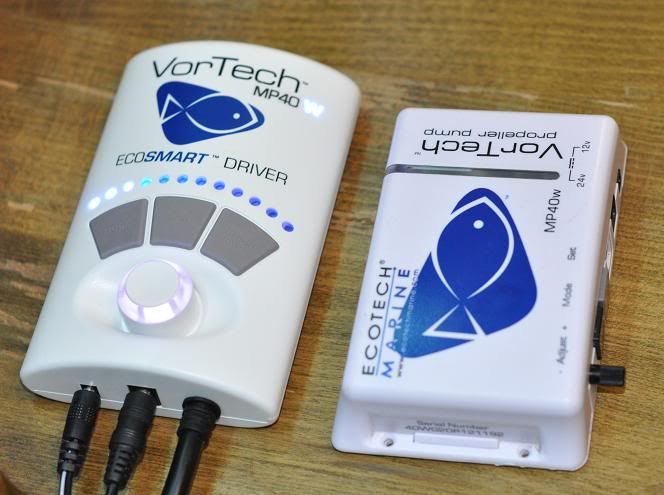
10) Size comparison with new vs. old driver.
1) Nice packaging as always with ecotech products. (The logo is a big selling point.
)2) The inside.
3) All products laid out to make sure everything is there. Also a size comparison next to my phone. Thing on the left is the turn nob from the driver.
4) Copy of the installations. Like I said above, It's simple.
5) I removed the power wire and the batter back up wire to the old driver. Then I used a flat head screw driver to pop the unit opened. Picture of the old MP40w drive.
6) I then removed the dryside connector (not shown in this picture) from the motherboard.Here is an inside picture of the old driver.
7) I then plugged the dryside connector to the new ES driver. It was as simple and plug and pay. Here is a picture of the front of the mother board. The connector with all the colored wire is the dryside connector.
8) I then flipped the mother board over and aligned it with the front plate of the ES driver. I twisted the dryside connector wires to make sure it sat in nicely.
9) I closed the new driver unit with the 3 screws Ecotech provided and plug the power supply back in. Did some testing and it works like a charm.
10) Size comparison with new vs. old driver.
Comment